Deadly Days: Roadtrip Threat Level and Scaling Guide
Learn how Deadly Days: Roadtrip threat level affects special zombies, how MKing Response Level changes runs, and when to loot or head to the bus safely.
Jump to
What Does Threat Level Change?
More special zombies can turn a promising loot stop into a desperate escape. Deadly Days: Roadtrip threat level affects their numbers, while MKing Response Level changes starting threat and route threat limits. Watch both when planning your trip, then weigh each stop’s modifiers against the build in your backpack.
In version 1.0, threat’s effect on special-zombie numbers starts more gradually but accelerates later. Special zombies also appear later and become more common as the run progresses. That gentler opening gives you room to build, but it doesn’t make later encounters forgiving.
Threat also affects armored enemies: their armor scales with threat level, a mechanic introduced in update 0.18. That update also allowed poison and fire status damage to bypass armor and damage enemies directly. Consider those effects when armored enemies are slowing your kills.
Stage modifiers add another layer of difficulty. Locations marked with an ! can change the encounter substantially, including making only Elite Zombies appear or bringing the Reaper in earlier. Other modifiers offer benefits such as 150% experience points.
Hover over marked locations before choosing your route. Read the modifier alongside the threat value so you know what you’re committing to.
Official page: Deadly Days: Roadtrip (store.steampowered.com)
How MKing Response Level Changes Your Runs
MKing Response Level affects the conditions you face before your build gets going. Version 1.0, released October 29, 2026, sets these starting-threat bonuses and route threat caps:
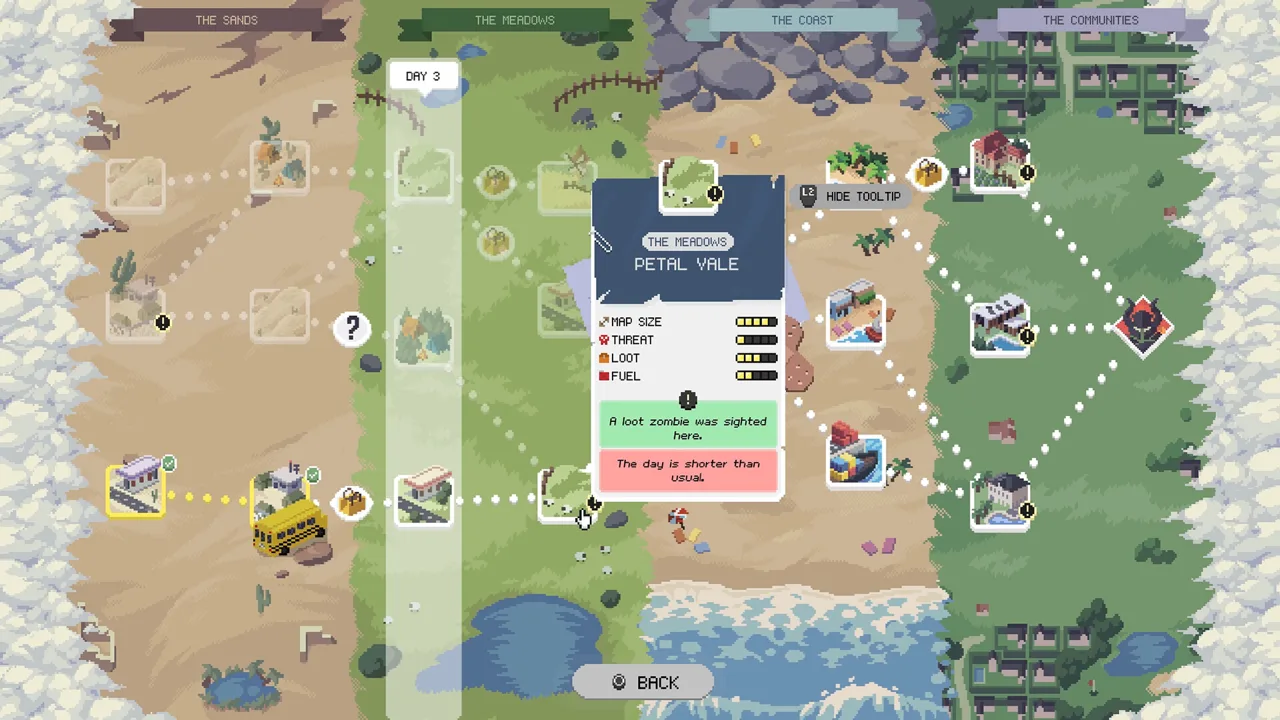 Image: Steam / Pixelsplit
| MKing Response Level | Threat change in version 1.0 |
|---|---|
| 2 | Route threat cap reaches 3 |
| 3 | Starting threat +1 |
| 4 | Starting threat +2 |
| 5 | Starting threat +3 |
| 6 | Route threat cap reaches 4 |
Starting threat and the route threat cap describe different parts of the difficulty system. Keep the distinction in mind when comparing a route choice with how a run feels from its opening moments.
Response Level stops increasing at level 6, which is displayed as MAX. The Weekly Challenge always uses response level 5, so expect its starting conditions to differ from a regular run at a lower response level.
Higher response levels also improve progression rewards:
- The round-end apple bonus is +5% per response level.
- Bosses drop +1 duct tape from response level 3.
- That boss bonus becomes +2 duct tape from response level 5.
Version 1.0 also adds a recovery rule: losing or abandoning a run before its first boss win lowers MKing Response Level by 1. The timing matters—this rule specifically applies before that first boss victory.
When to Keep Looting and When to Extract
Every stop asks you to balance scavenging against survival. You need enough fuel to get the bus moving again, while weapons, gear, and experience help prepare your build for later encounters.
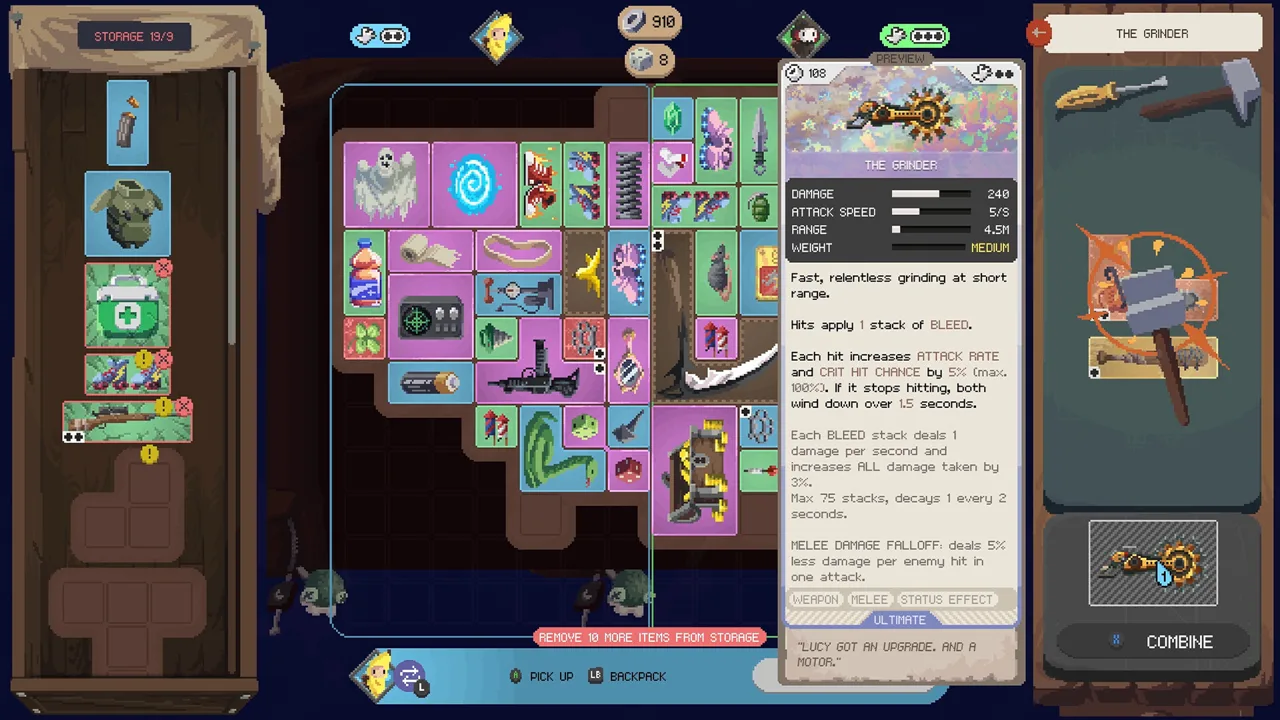 Image: Steam / Pixelsplit
Collect the required fuel while looking for loot that strengthens your current setup. Once departure is possible, judge an extra detour by what it could actually add: a useful merge, an item that supports your weapons, or another piece of an adjacency combination.
Use these checks before committing to more scavenging:
- Check your damage against the enemies already present. Favor departure when you’re struggling to clear enough space to reach loot.
- Inspect your backpack’s interactions. Arrange gear so its marked effects reach the weapons or items you intend to improve.
- Read the next stop’s modifier. Prepare for an Elite-only encounter before selecting it.
- Keep fuel collection in your plan. Don’t let an optional loot chase distract you from getting the bus ready.
Avoid building your route around a fixed farming duration. Procedurally generated maps, stage modifiers, and the gear you find create different decisions from stop to stop. Leave when the remaining opportunities no longer justify the pressure your build is facing.
Prepare Your Backpack for Tougher Stops
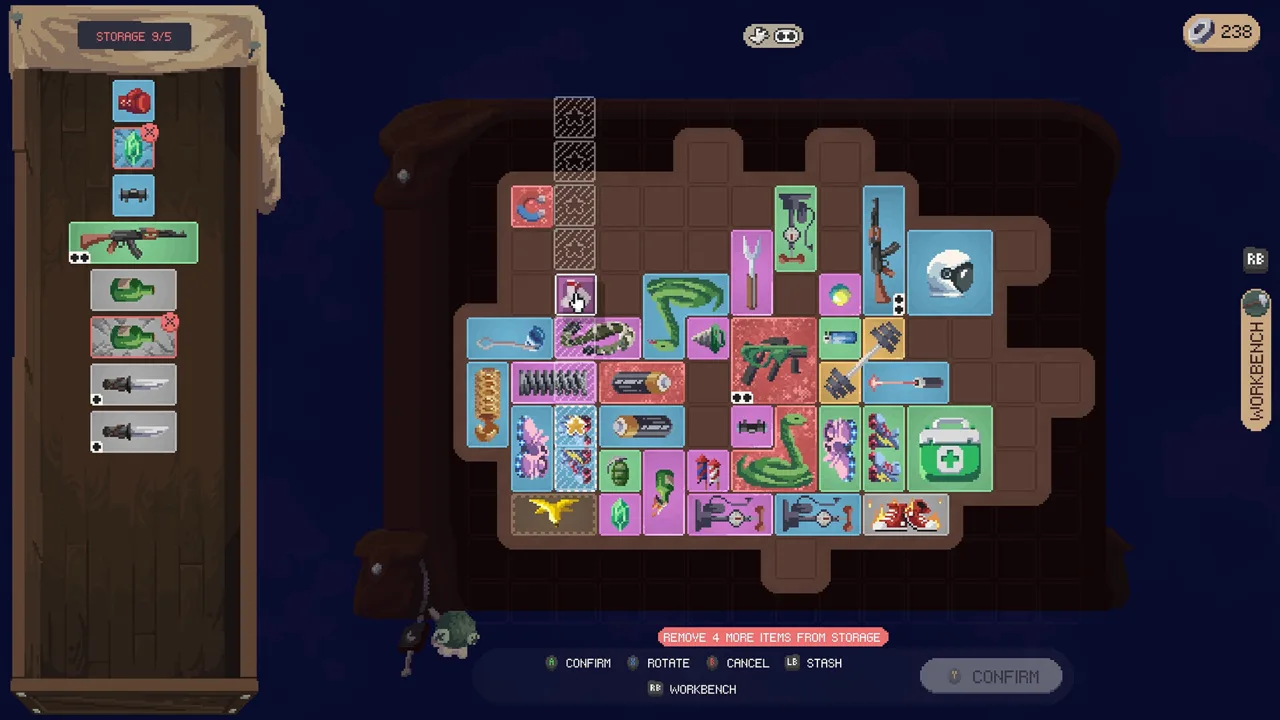
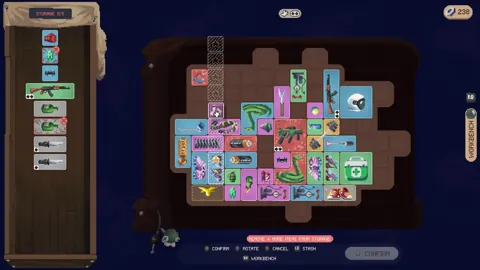
Your backpack determines how well your weapons and equipment work together. Items occupy limited space, adjacency effects can stack, and matching gear can merge into stronger versions. Before choosing a tougher stop, review the arrangement as carefully as the individual items.
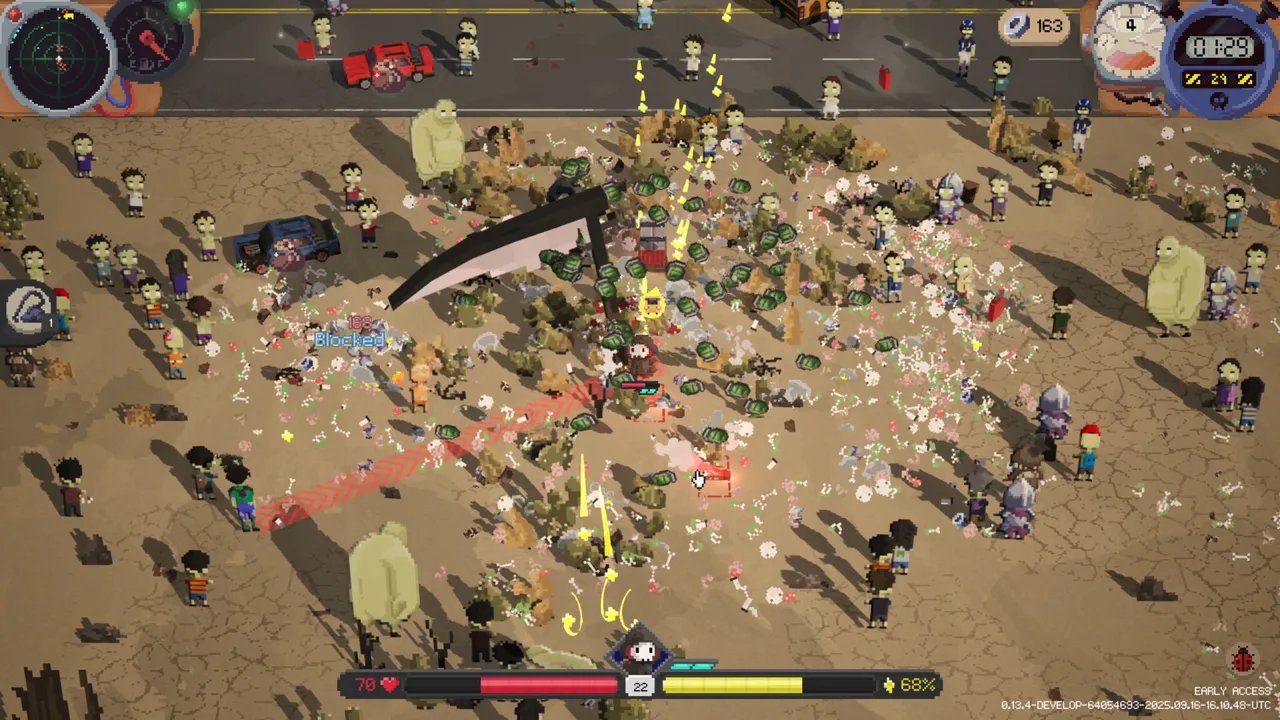 Image: Steam / Pixelsplit
Use Auto Equip to place an item in an open spot that accounts for synergies, then inspect the result. Check selectors and marked items whenever you rearrange the bag.
Version 1.0 adds several tools that directly support scavenging and departure:
- Crowbar: Increases looting speed while serving as a melee weapon.
- Ghost Sheet: Extends invincibility after taking a hit and hides you from zombies while you’re actively looting.
- Teleporter: Sends you to an unlooted loot spot and knocks back nearby enemies. At night, once all fuel is collected, it sends you to the bus instead.
- Secret Sauce: Reduces daily fuel requirements and speeds up bus startup. It also adds poison damage to marked weapons and items, but deactivates marked food items.
Check Secret Sauce’s marked spaces carefully. Coffee counts as Food, so its placement deserves attention when combining the two.
For difficult opening days, grab coffee at the base before your next run. It increases movement and loot speed and makes days a little longer. Use that extra breathing room to collect fuel and assemble your backpack synergies before taking on more demanding stops.
Continue with
 Deadly Days: Roadtrip Upgrade Guide: What to ImprovePlan out your Deadly Days: Roadtrip upgrade path with apples, character stickers, item banishing, Hammer rarity boosts, and smarter backpack synergies.
More in Progression
Deadly Days: Roadtrip Achievements & Completion Guide
Plan your Deadly Days: Roadtrip achievements hunt with all 55 Steam goals, global unlock rates, 1.0 changes, and a practical route toward full completion.
Deadly Days: Roadtrip Costume Shop: How to Unlock It
Unlock the Deadly Days: Roadtrip costume shop, earn Multiple personalities, and use duct tape to add character-item shopping to your runs. Learn the steps.

Deadly Days: Roadtrip Endless Mode: Builds and Tips
Explore Deadly Days: Roadtrip endless mode, learn how to continue a winning run, and build around backpack synergies, critical hits, and survival tools.
Continue exploring
Join the community
Official channels for news, updates and player help: