Deadly Days: Roadtrip Difficulty and Survival Guide
Learn how Deadly Days: Roadtrip difficulty works, what MKing Response Level changes, and how coffee, loot runs, and backpack synergies help you survive.
Jump to
How Difficulty Scaling Works in Version 1.0
A powerful weapon won’t save a run if the horde outpaces the rest of your build. Deadly Days: Roadtrip difficulty involves MKing Response Level, route threat, and the pressure of staying at a stop for more loot. Understanding those layers helps you choose your next mission and decide when another scavenging detour is worth the risk.
The October 29, 2026 version 1.0 update changed several parts of that balance. MKing Response Level affects starting threat, route threat caps, and rewards:
| MKing Response Level | Difficulty or reward change |
|---|---|
| 2 | Route threat cap reaches 3 |
| 3 | Starting threat is +1; bosses drop +1 duct tape |
| 4 | Starting threat is +2 |
| 5 | Starting threat is +3; bosses drop +2 duct tape |
| 6 | Route threat cap reaches 4 |
The round-end apple bonus is +5% per response level. Those extra rewards give tougher runs a payoff, but they also make your starting conditions worth checking before you commit to a route.
Version 1.0 also reduces MKing Response Level by 1 when a run is lost or abandoned before its first boss win. That gives struggling runs a way to ease back without requiring a successful clear.
Enemy pacing changed, too. Chargers are less numerous, special zombies arrive later before becoming more common, and threat’s effect on special-zombie numbers starts more slowly before accelerating later. Enemy attack-distance growth is also slower late in runs and in Endless Mode. An easier opening still needs to become a stronger build before the pressure catches up.
Official page: Deadly Days: Roadtrip (store.steampowered.com)
Use Coffee When the Opening Days Are Rough
The revamped base includes a coffee stand specifically aimed at players struggling to survive several days. Coffee starts your next run with:
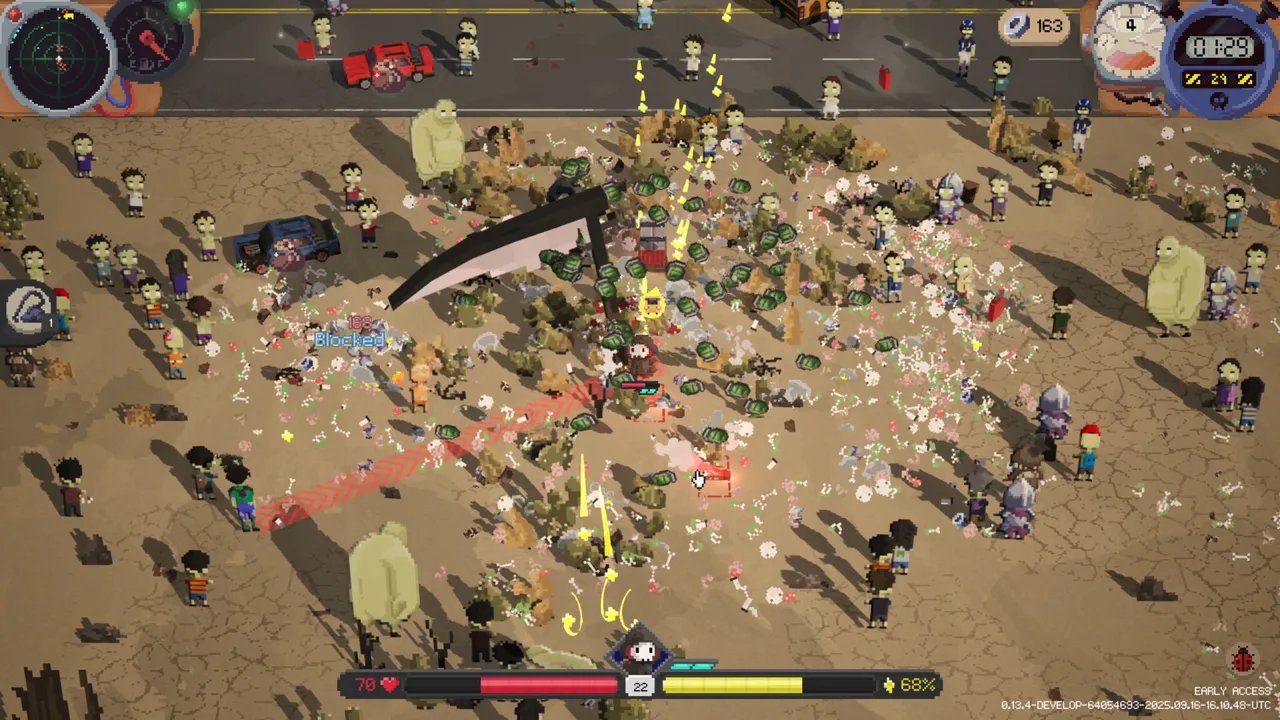 Image: Steam / Pixelsplit
- Increased movement speed.
- Increased loot speed.
- Slightly longer days.
Grab a coffee before heading out if movement and scavenging are where your runs break down. Use the extra mobility to keep room around your survivor, and spend the additional looting speed on fuel and useful pickups.
Watch its backpack interactions, though. Coffee counts as Food in version 1.0. Secret Sauce deactivates marked food items, so keep coffee outside its marked spaces if you want to preserve its effects.
Between trips, invest your earned resources in base upgrades and unlocks. Address the problem ending your runs: prioritize movement upgrades if you keep getting trapped, or combat upgrades if enemies take too long to clear.
Balance Fuel Collection Against Extra Loot
Fuel makes extraction possible. Your backpack determines how prepared you are for the next stop. Chasing only one of those goals can leave you stranded or underpowered.
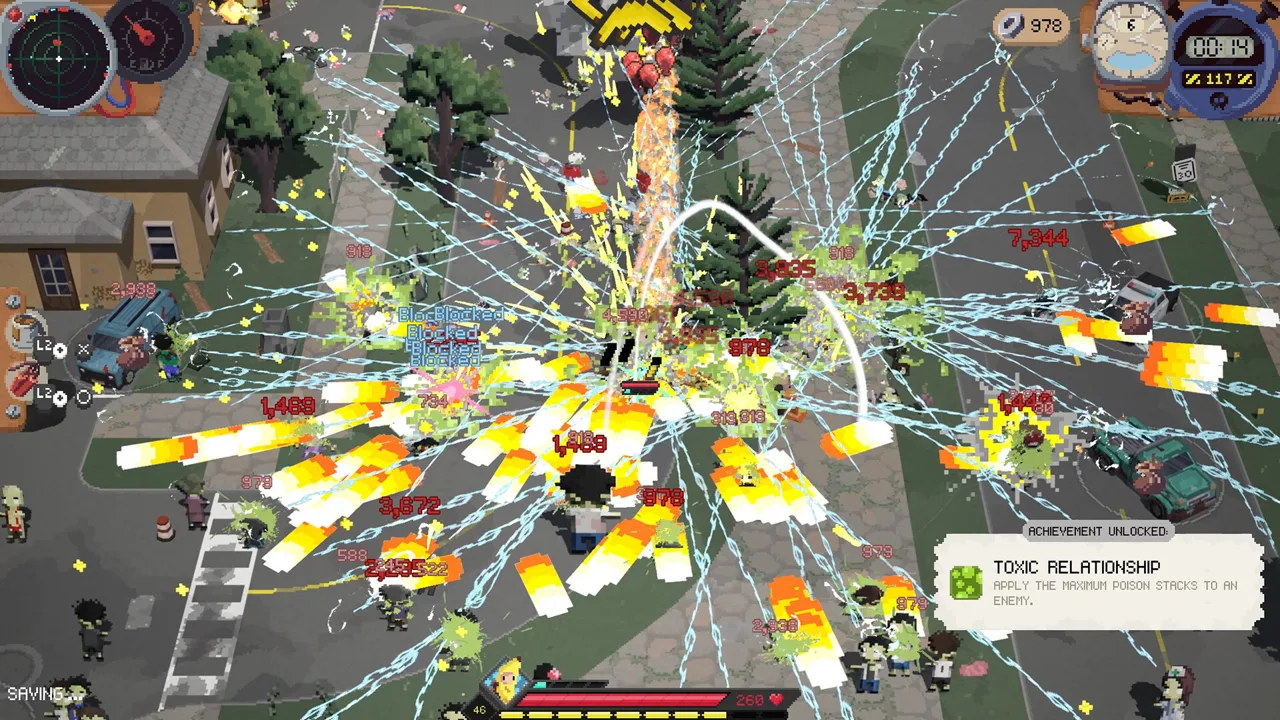 Image: Steam / Pixelsplit
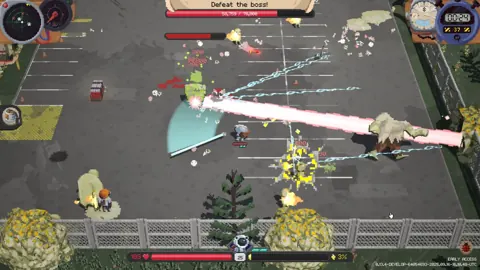
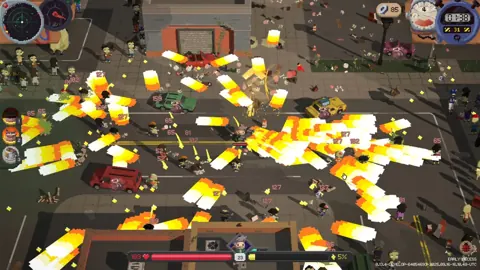
Mission choices include different fuel and loot conditions, while some stops add twists such as elite-only enemies, bonus XP, or a merchant selling cursed goods. Read those conditions before picking a destination. Choose fuel-friendly stops when getting the bus moving has been your main obstacle, and approach elite-heavy stops cautiously when your damage is struggling.
During a stop:
- Work toward the fuel requirement. Keep extraction within reach instead of leaving the objective until the horde becomes difficult to manage.
- Collect useful loot along manageable paths. Avoid turning every pickup into a long detour.
- Reassess once the bus can leave. Stay for additional rewards while you can still move and clear enemies comfortably.
- Head back before your escape becomes desperate. Repeated hits, crowded paths, and difficulty creating space are reasons to leave.
Loot and XP help a build grow, but staying longer also exposes you to escalating enemy pressure. Judge the next pickup by what it can contribute and how much danger lies between you and it.
Avoid relying on old, fixed minute-by-minute farming schedules. Version 1.0 changed special-enemy pacing and late-run attack-distance growth; make the extraction decision around the enemies you are actually facing.
Make Your Backpack Stronger Between Stops
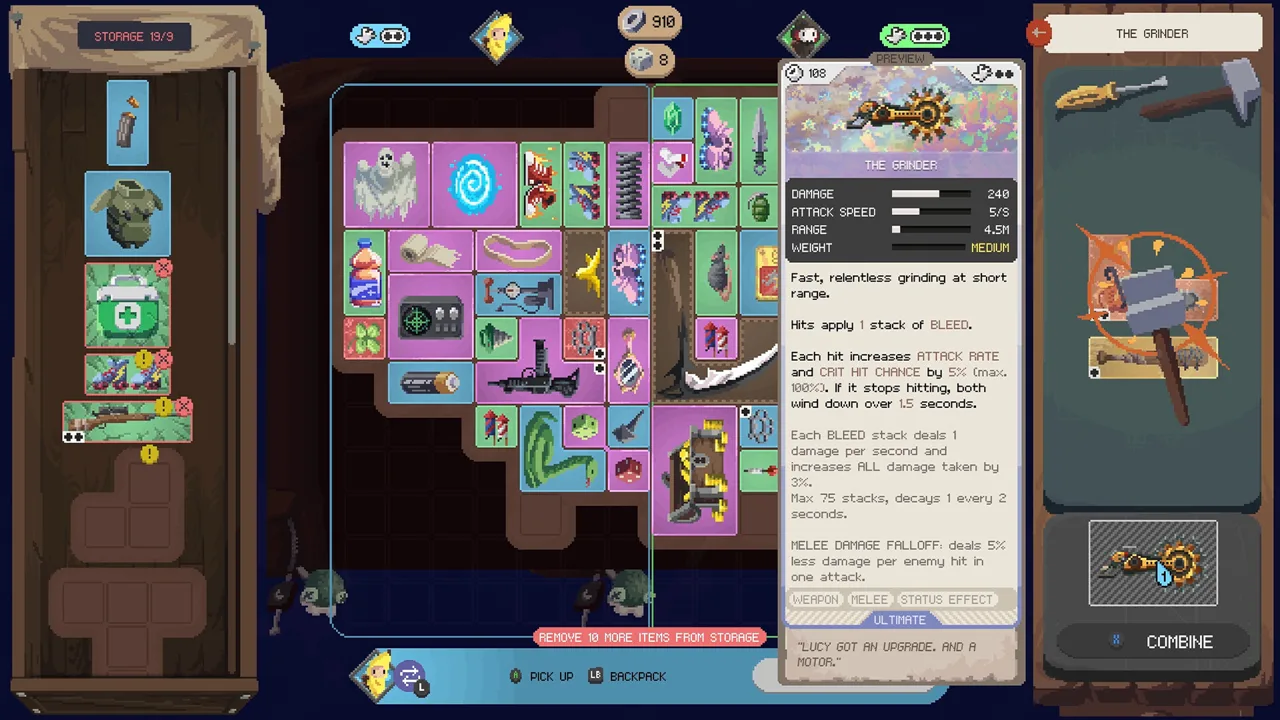
Your backpack is the center of your damage scaling. Weapons and items occupy limited space, and their placement determines which adjacency effects and selectors reach your equipment.
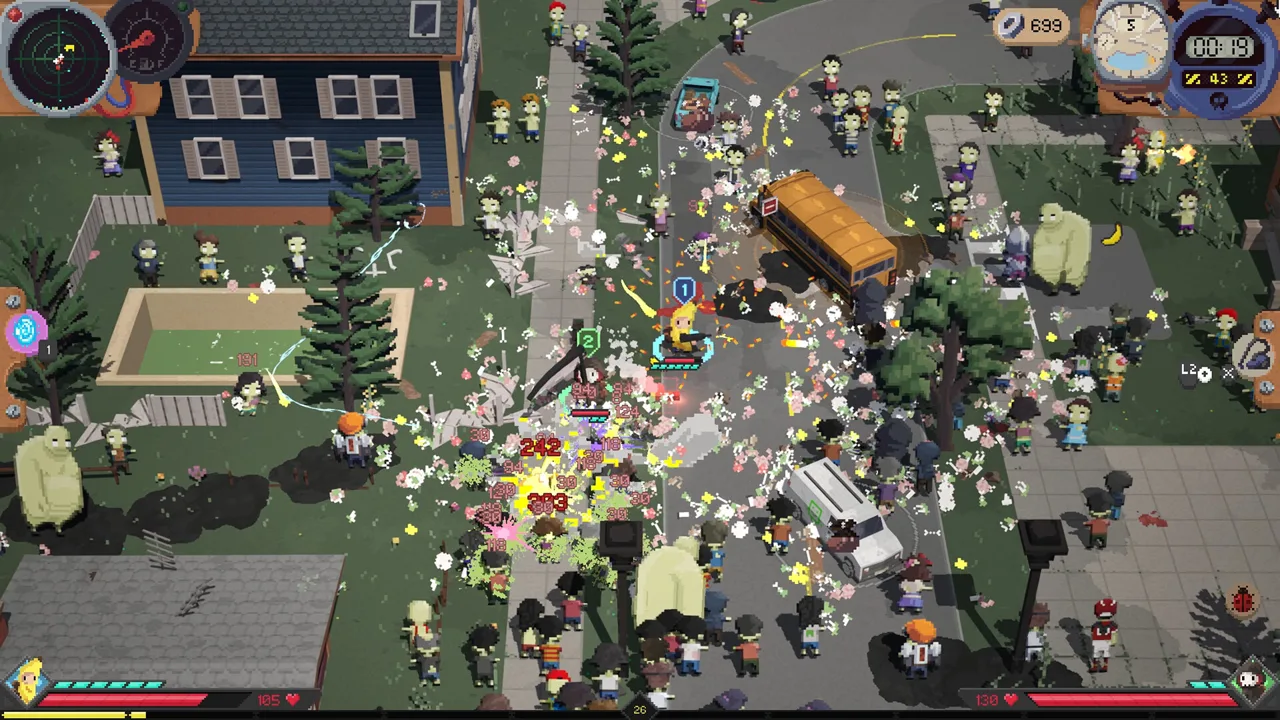 Image: Steam / Pixelsplit
Before accepting a tougher mission, inspect the whole arrangement:
- Check marked spaces. Position support items so their effects reach the weapons or items you intend to strengthen.
- Read effect requirements. A bonus for weapons does not automatically apply to throwables.
- Merge matching equipment. Use stronger versions to improve the pieces already supporting your build.
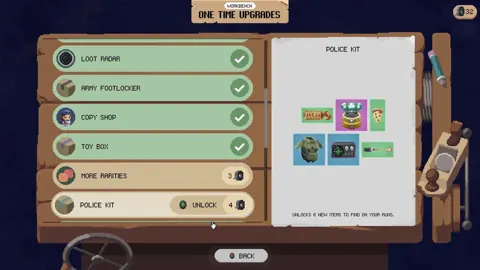
- Review available recipes. The version 1.0 workbench sorts recipes by what you can craft and displays ingredient quantities and rarity.
- Inspect Auto Equip’s placement. It considers synergies when choosing an open spot; review the result before continuing.
Build around interactions your current equipment can actually activate. For example, the Cogwheel links marked triggerable items: when one triggers, the others trigger too, with each item activating only once per chain. Mark compatible items so the chain contributes to your damage.
The Hammer offers another way to strengthen existing equipment. At the end of the day, it upgrades marked items by one rarity, without exceeding its own rarity. Place equipment you intend to keep within its marked spaces.
Also check weapon tooltips for critical chance and critical damage. In version 1.0, critical chance above 100% can produce higher critical tiers. Each additional full 100% adds the critical-damage bonus again, while the remaining chance can roll another tier.
Use Survival Items Around Their Actual Conditions
Survival equipment has requirements and tradeoffs. Match those effects to the situations that keep killing you.
Shield Generator restores one armor every 10s, but taking damage resets its timer. Create space after a hit so the restoration has time to activate.
Ghost Sheet increases invincibility after taking a hit and hides you from zombies while you are actively looting. Use that protection during necessary scavenging without treating it as permission to stand in a crowd.
Teleporter sends you to an unlooted loot spot and knocks back nearby enemies. At night, once all fuel is collected, it sends you to the bus instead. Check those conditions before using it as an escape.
Secret Sauce reduces daily fuel requirements and lets the bus start faster. It also adds poison damage to marked weapons or items while disabling marked food. Arrange its marked spaces carefully so its utility does not switch off something you need.
Handle Shady Merchant equipment with the same care. Ripped-Out Eye gives marked weapons +100% crit chance but cuts their range by -75%. Uranium can trigger a small nuke on hits with marked weapons and throwables, but it can also mutate the target into a titan. Read the drawback before making either item part of a struggling build.
Choose Challenges and Co-op With Scaling in Mind
The Weekly Challenge always runs at response level 5. Everyone receives the same random survivor and modifiers, so use regular runs to practice your own loadouts before tackling that fixed challenge.
Endless Mode lets builds continue scaling beyond a normal run. Prepare for sustained pressure rather than assuming a setup that handles the current stop will remain comfortable indefinitely.
Co-op adds more backpack interactions. In version 1.0, selectors can mark items in the other player’s backpack, and each backpack gets an extra unlockable column. Coordinate placements so support effects reach useful equipment across both bags.
For remote co-op, Steam Remote Play Together lets a friend join without owning a second copy. Before selecting the next mission, review both backpacks together and check which cross-backpack effects you can put to work.
Continue with
 Deadly Days: Roadtrip Guide: Builds, Loot, and EscapeUse this Deadly Days: Roadtrip guide to build backpack synergies, collect fuel, plan safer extractions, and learn the new weapons and items in version 1.0.
More in Guide
See all Guide
Continue exploring
Deadly Days: Roadtrip Characters: Builds and Unlocks
Explore Deadly Days: Roadtrip characters, from pistol survivors to the Vampire. Learn starting gear, bat synergies, and what changed with the 1.0 release.
Deadly Days: Roadtrip Best Build Guide for Version 1.0
Find your Deadly Days: Roadtrip best build with melee synergies, Vampire bats, throwable triggers, and backpack tips for stronger runs in version 1.0.
Join the community
Official channels for news, updates and player help: