Deadly Days: Roadtrip Guide: Builds, Loot, and Escape
Use this Deadly Days: Roadtrip guide to build backpack synergies, collect fuel, plan safer extractions, and learn the new weapons and items in version 1.0.
Jump to
How to Survive Your First Road Trip
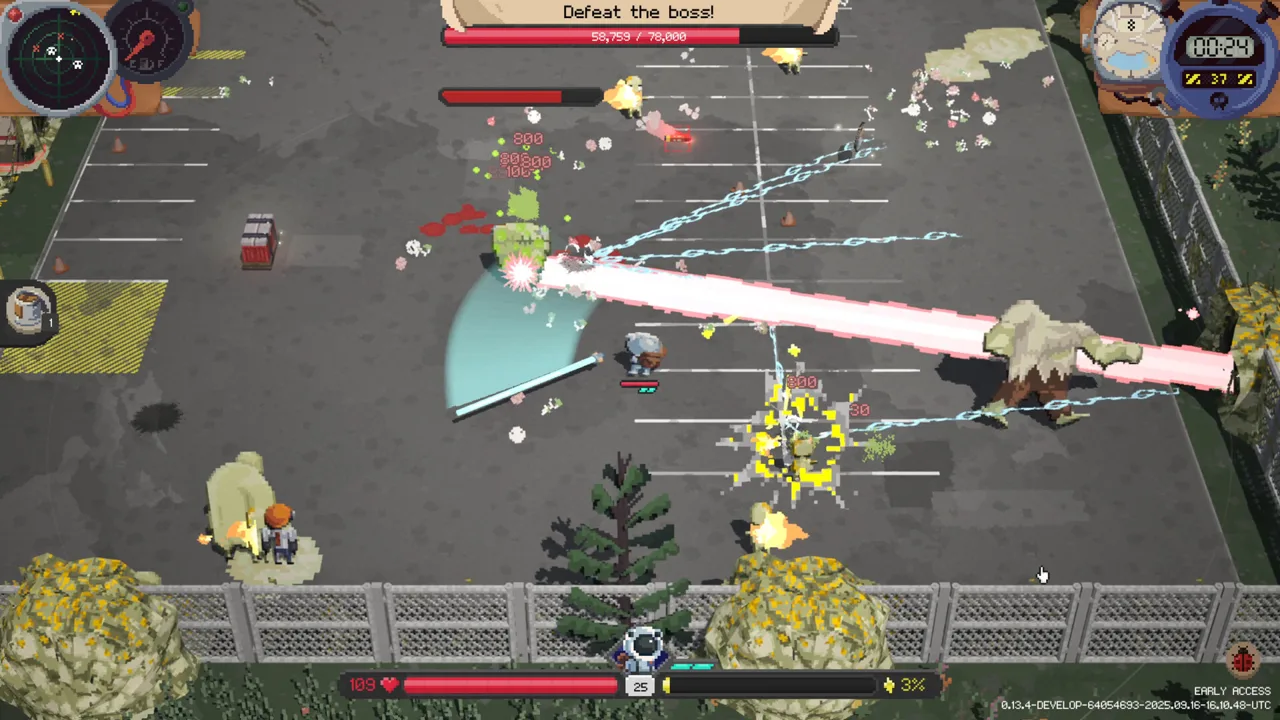
One more loot stop can turn a promising run into a dead survivor. This Deadly Days: Roadtrip guide helps you build backpack synergies, gather bus fuel, and recognize when to extract. Learning how those decisions fit together gives you a foundation for stronger builds and longer trips.
The basic loop connects combat, inventory management, and route planning: scavenge a location, collect enough fuel to move the bus, organize your equipment, and choose your next stop. Each stop advances the trip toward a final boss, while completed runs contribute bomb parts toward destroying MKing headquarters.
For your opening trips, follow this sequence:
- Read the mission choices. Check the location’s modifiers and map size before committing.
- Collect fuel while scavenging. Keep the bus objective in mind instead of chasing every item.
- Build around equipment you actually have. Match support items to your survivor’s tools and their tags.
- Watch how quickly enemies reach you. Start leaving when your attacks stop clearing enough room to move safely.
- Spend time improving the backpack between stops. Check placement, merges, and available recipes before heading out.
Version 1.0 launched on October 29, 2026. Its additions expand the equipment pool and update the base:
- More than 110 weapons and items in total.
- 10 new weapons, including five available only through crafting.
- 16 new items.
- A base coffee stand that helps with movement, looting, and the time available each day.
Official page: Deadly Days: Roadtrip (store.steampowered.com)
Build Your Backpack Around Working Synergies
Every weapon and support item occupies limited backpack space. Placement matters because adjacency effects and selectors determine which equipment receives a bonus.
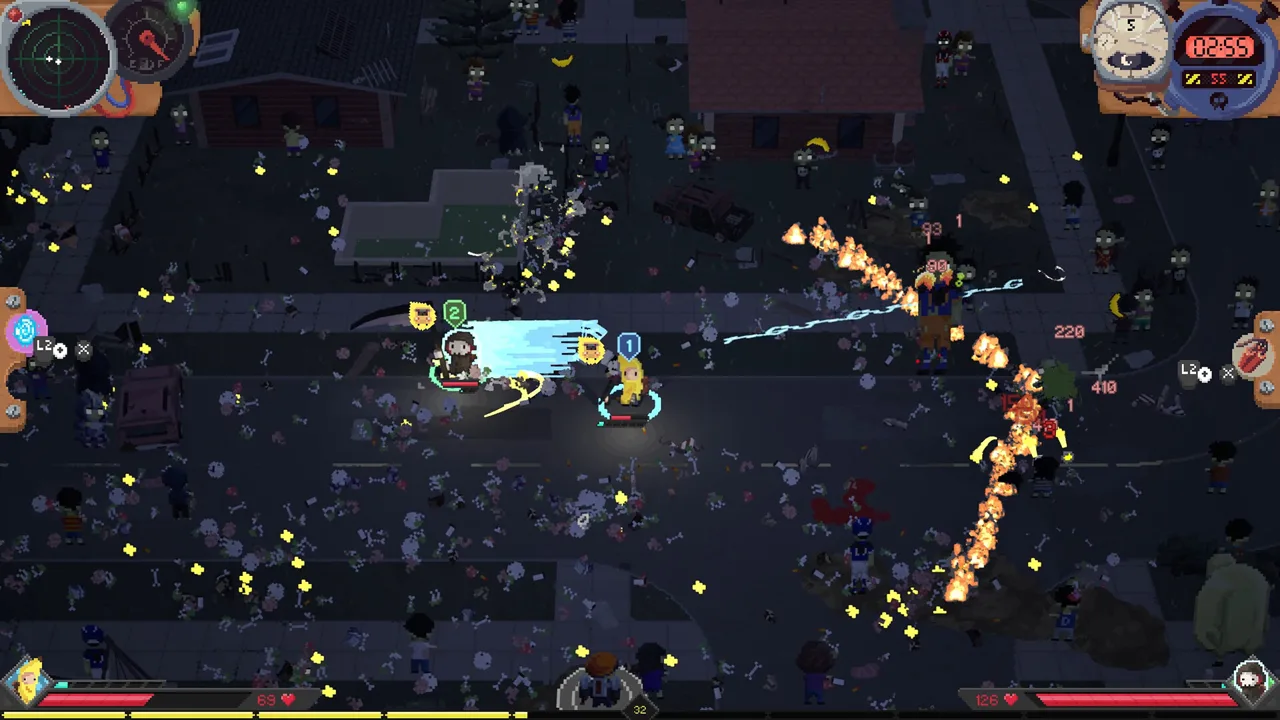 Image: Steam / Pixelsplit
Read the effect, check the eligible tags, then check what the item marks. A support item taking up space without reaching a compatible target contributes less than its tooltip might suggest.
When rearranging your inventory:
- Place your main damage source where compatible support effects can reach it.
- Check every selector again after moving an item.
- Expand toward space that lets you connect useful equipment.
- Compare a merge’s improved effect against the connections you lose by removing a separate copy.
- Reconsider weaker items when the backpack fills up.
Auto Equip places an item in the best available opening, including consideration for synergies. Use it to get equipment into the bag quickly, then review whether rearranging the surrounding items would improve the whole build.
Use Merges and Crafting Deliberately
Merging produces stronger versions of equipment, while crafting can create new weapons and legendaries. At the workbench, recipes are sorted by what you can craft, and the interface displays ingredient quantities and rarities.
Check that list before committing ingredients. Compare the result with your current damage sources and support effects rather than crafting solely because a recipe is available.
The Hammer adds another upgrade route: at the end of the day, it raises all marked items by one rarity, stopping at the Hammer’s own rarity. Mark eligible items below that limit so its effect has room to work.
Choose Weapons and Trigger Effects That Fit Together
The new weapons cover different attack patterns. Match them to the effects already working in your backpack.
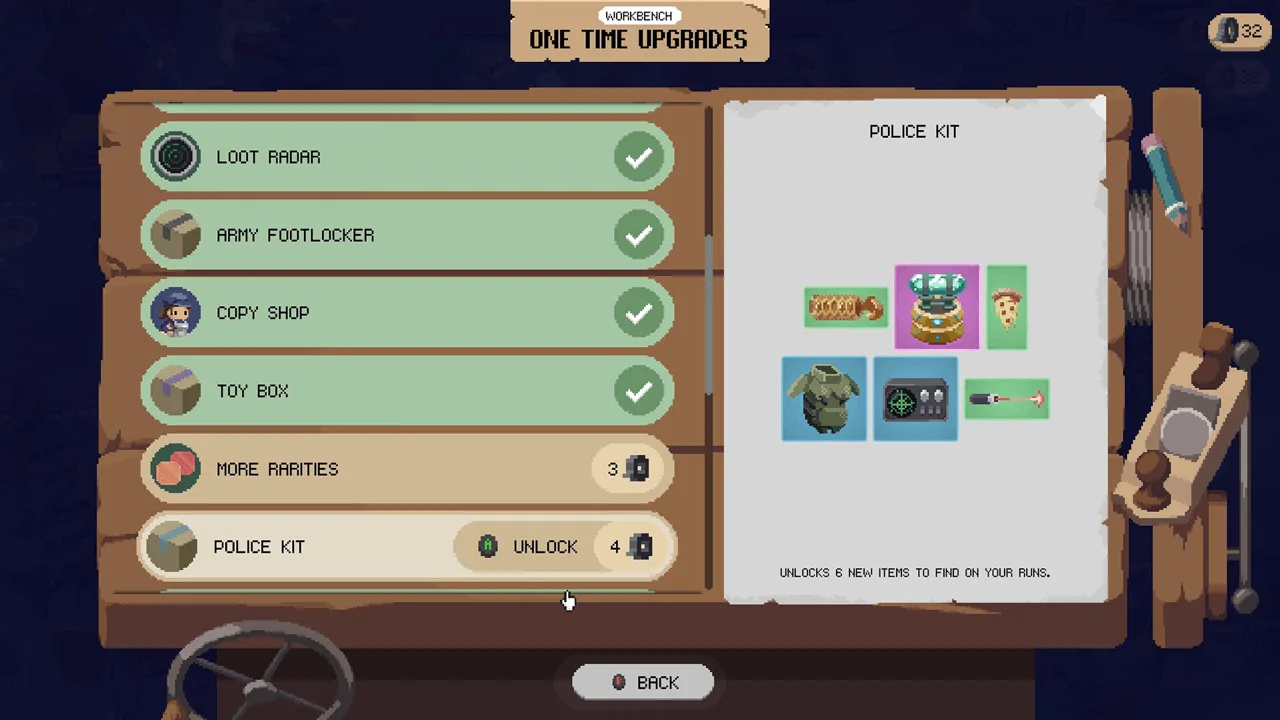 Image: Steam / Pixelsplit
| Weapon | Version 1.0 behavior |
|---|---|
| Crowbar | Melee weapon that increases looting speed |
| Machete | Melee weapon with a small sweeping attack |
| LMG | Fast, but heavy |
| Tommy Gun | Fast, but inaccurate |
| Flamethrower | Craftable; leaves damaging fires that can apply Burn |
| Desert Eagle | Craftable; high damage and pierces one extra enemy |
| Mega Shotgun | Craftable; very high damage and many pellets |
| Crossbow | Craftable; bolts stick in enemies and repeat on-hit effects when triggered |
| The Grinder | Craftable; attacks with a spiked spinning wheel |
For a Crossbow setup, pair it with on-hit effects and compatible triggering tools. For a Flamethrower setup, account for both the flame stream and the fires it leaves behind.
Trigger builds require careful placement. A triggerable item can activate through compatible equipment, letting movement or dashes contribute to your attacks.
Several version 1.0 items expand those interactions:
- Cogwheel: When one marked triggerable item activates, the other marked triggerable items activate too. Each item can trigger only once within a chain.
- Hand Mirror: Copies effects hitting a marked item onto the marked item opposite it.
- Rubber Band: Increases marked throwables’ range and reduces their trigger intervals.
- Tesla Coil: Fires a projectile every 3s that can electrocute. Its additional-bounce effect requires an even number of marked electric items.
Count the Tesla Coil’s marked electric items after rearranging your bag. Adding another item can change whether that condition is met.
Keep Critical Chance and Tradeoffs in View
Weapon tooltips show critical chance and critical damage. In version 1.0, critical chance above 100% can produce higher critical tiers: each full additional 100% adds the critical-damage bonus again, while the remaining chance can roll another tier. Luck affects that remaining chance.
Ripped-Out Eye gives marked weapons +100% crit chance but reduces their range by 75%. Check the resulting reach before committing it to a weapon you rely on for clearing enemies ahead of you.
Plan Fuel Collection and Extraction Together
Fuel gets the bus moving again, but collecting it does not automatically make another detour worthwhile. Keep evaluating the space around your survivor and the distance back to the bus.

Begin the return while you can still choose your path. Waiting until enemies surround you turns extraction into an emergency.
When the opening area is manageable, clear farther sections early and work back toward the bus. Avoid saving a distant loot spot for the moment your build starts struggling.
Route modifiers also deserve attention. Stops can feature elite zombies only, bonus XP, or a merchant offering cursed goods. Choose a route your current damage and movement can handle instead of judging it entirely by the potential loot.
These items directly affect scavenging and escape:
| Item | Effect | Condition or tradeoff |
|---|---|---|
| Teleporter | Moves you to an unlooted loot spot and knocks back nearby enemies | At night, after all fuel is collected, sends you to the bus instead |
| Secret Sauce | Reduces daily fuel requirements, speeds up bus starting, and adds poison damage to marked weapons/items | Deactivates marked food items |
| Ghost Sheet | Extends invincibility after taking damage and hides you from zombies while actively looting | Its hiding effect applies during looting |
| Shield Generator | Restores one armor every 10s | Taking damage resets the timer |
| Electrolyte Drink | Increases stamina recovery | Supports stamina management |
| Ice Cube | Increases movement speed and dash distance | Adds sliding after stopping or dashing |
Check Secret Sauce’s selectors carefully. Coffee, Special Banana, Fresh Pumpkin, and The Carver's Grin count as Food in version 1.0, so marking them can disable benefits you intended to keep.
With Shield Generator, protect the recovery window by avoiding repeated hits. With Ice Cube, leave room for the slide when moving near crowded corners.
Adapt to Your Survivor’s Damage Pattern
Survivors have distinct playstyles and unique items. Build around how those items deliver damage, including any delay between activating an attack and actually clearing enemies.
Vampire: Support the Bats’ Melee Damage
Vampire starts without a weapon and with a group of bats. Each level-up adds another bat. Their attacks deal melee damage and have a chance to steal life.
Equip compatible melee-effect items alongside the bats. Keep movement and escape options in the build instead of relying entirely on life-steal to recover from dangerous positioning.
Visit the Shady Merchant while pursuing Vampire’s unlock.
Mechanical Egg: Cover the Hatching Delay
A mechanical egg setup creates minions, but those minions need time to hatch and attack. Dashing into fresh enemies can carry you beyond the damage that was protecting your previous position.
Pair the egg with a fast melee weapon to cover nearby threats while the minions get to work. Move through areas they have cleared, and avoid charging into an untouched crowd.
Try compatible melee support effects alongside the egg and your weapon. Keep the immediate defense provided by that weapon in mind before attempting a run built entirely around throwables and minions.
Watch XP collection, too. Minions killing enemies away from your position can leave experience behind. Collect it when the path is safe, and avoid turning a return trip for XP into a desperate retreat.
Use the Base to Address What Ended Your Run
Back at base, invest your loot in upgrades and unlocks. Rescue additional survivors during your trips to open up more playstyles and unique equipment.
If surviving several days is the immediate problem, visit the coffee stand before departing. Coffee increases movement and looting speed, and the days become a little longer. Use that extra breathing room to practice scavenging and returning safely.
Choose your next investment around the problem you encountered:
- If enemies reached you before delayed attacks landed, add a faster damage source.
- If useful support items could not connect, prioritize a more workable backpack layout.
- If you repeatedly ran out of safe movement, review mobility and extraction decisions.
- If weaker equipment stopped contributing, check upgrades and crafting before the next departure.
Version 1.0 also changes rewards and difficulty through MKing Response Level:
- Losing or abandoning a run before its first boss win lowers MKing Response Level by 1.
- Round-end apple bonuses increase by +5% per response level.
- Bosses drop +1 duct tape from MKing response level 3 and +2 from level 5.
- Some achievements award apples or duct tape at base.
Higher response levels also increase starting threat. Weigh the extra rewards against your ability to finish the trip, and use the run statistics and game-over information to identify what needs attention.
Coordinate Both Backpacks in Co-op
Co-op supports shared-screen play and Steam Remote Play Together. Through Remote Play Together, your friend can join without owning a second copy.
Version 1.0 enables cross-backpack synergies: selectors can mark items in the other player’s backpack. Each bag also has an extra unlockable column, and the grids can touch.
Plan your layouts together:
- Identify which weapons and unique items each player is supporting.
- Arrange the bags so relevant selectors can reach compatible equipment.
- Check both inventories whenever either player moves a shared support piece.
- Review the separate round-end statistics before changing the next setup.
An item moving into your partner’s bag can affect more than their inventory. Recheck the connections across both bags before setting off.
Prepare for Endless Mode and the Weekly Challenge
Endless Mode lets a build keep scaling beyond the normal trip. Before pushing farther, review whether your damage, movement, and recovery are all keeping pace. A setup with strong damage can still struggle if its attacks arrive too late to protect you.
The Weekly Challenge uses the same random survivor and modifiers for everyone, and it always runs at response level 5. Starting threat is +3 at MKing response level 5, so enter prepared for that pressure.
Read the assigned survivor’s unique item and the challenge modifiers before choosing your equipment. Then use the leaderboard and run statistics to compare results and decide which part of the build to change on your next attempt.
Continue with
 Deadly Days: Roadtrip Worth It? A 1.0 Buying GuideIs Deadly Days: Roadtrip worth it? Explore its backpack builds, co-op, 1.0 additions, and replay value to decide whether this zombie roguelite suits you.
More in Guide
See all Guide
Continue exploring
Deadly Days: Roadtrip Characters: Builds and Unlocks
Explore Deadly Days: Roadtrip characters, from pistol survivors to the Vampire. Learn starting gear, bat synergies, and what changed with the 1.0 release.
Deadly Days: Roadtrip Endless Mode: Builds and Tips
Explore Deadly Days: Roadtrip endless mode, learn how to continue a winning run, and build around backpack synergies, critical hits, and survival tools.
Join the community
Official channels for news, updates and player help: