
Deadly Days: Roadtrip Upgrade Guide: What to Improve
Plan out your Deadly Days: Roadtrip upgrade path with apples, character stickers, item banishing, Hammer rarity boosts, and smarter backpack synergies.
Jump to
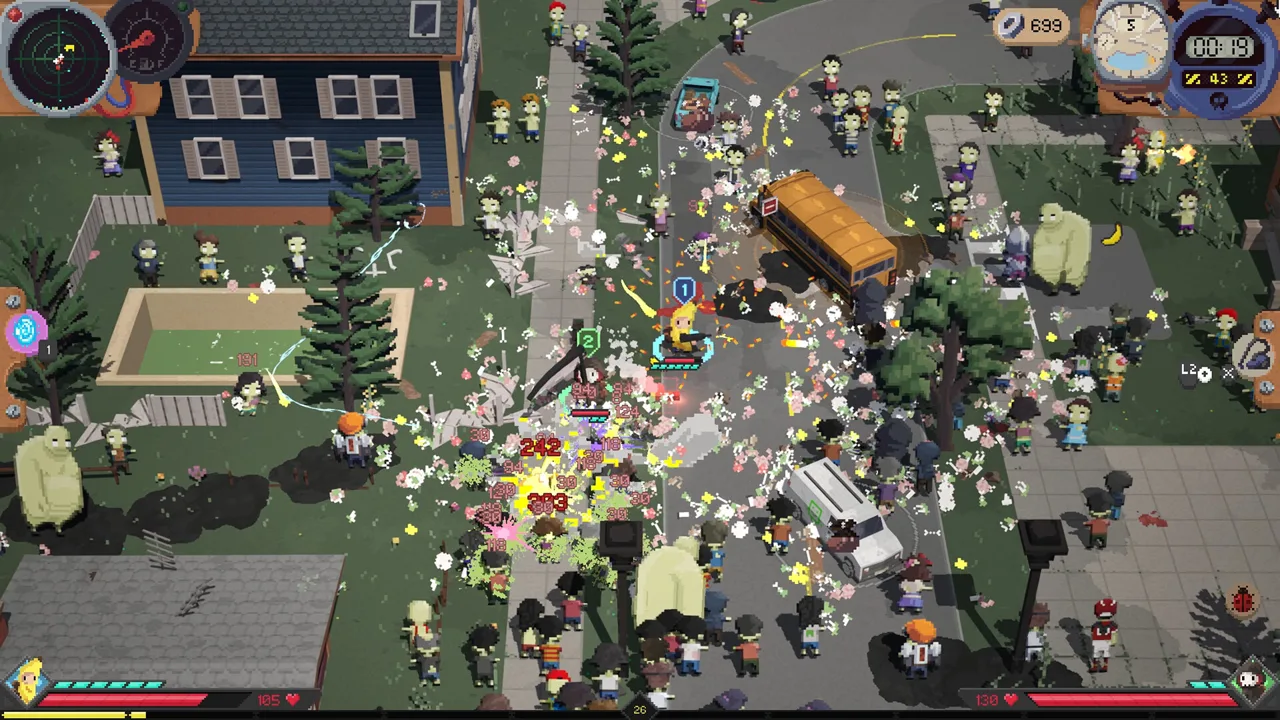
How Upgrades Work in Deadly Days: Roadtrip
A stronger weapon can still leave you cornered if your backpack stops supporting it. Your Deadly Days: Roadtrip upgrade choices shape both your current build and the permanent improvements waiting at base. Start by separating those two systems so you can spend apples deliberately and arrange gear around effects that actually work together.
Progression has several connected parts:
- Base upgrades: Invest your earned resources between trips to grow stronger and unlock more options.
- Character item stickers: Spend apples on modifiers for a survivor’s signature item. These upgrades persist across runs.
- Item banishing: Remove unwanted equipment from the loot pool through the base’s banishing system.
- Backpack improvements: Expand available space, arrange adjacency effects, merge matching equipment, and craft new weapons.
- Campaign progress: Complete runs to collect bomb parts for the attack on MKing headquarters.
Version 1.0 launched on October 29, 2026, and existing Early Access saves carry over. Its equipment pool includes over 110 weapons and items, making loot selection and backpack organization a substantial part of progression.
Official page: Deadly Days: Roadtrip (store.steampowered.com)
Spend Apples on Upgrades You Will Use
Character stickers give apples a clear purpose: improving the signature item of a survivor you intend to play. Open the character selection screen to purchase these persistent modifiers.
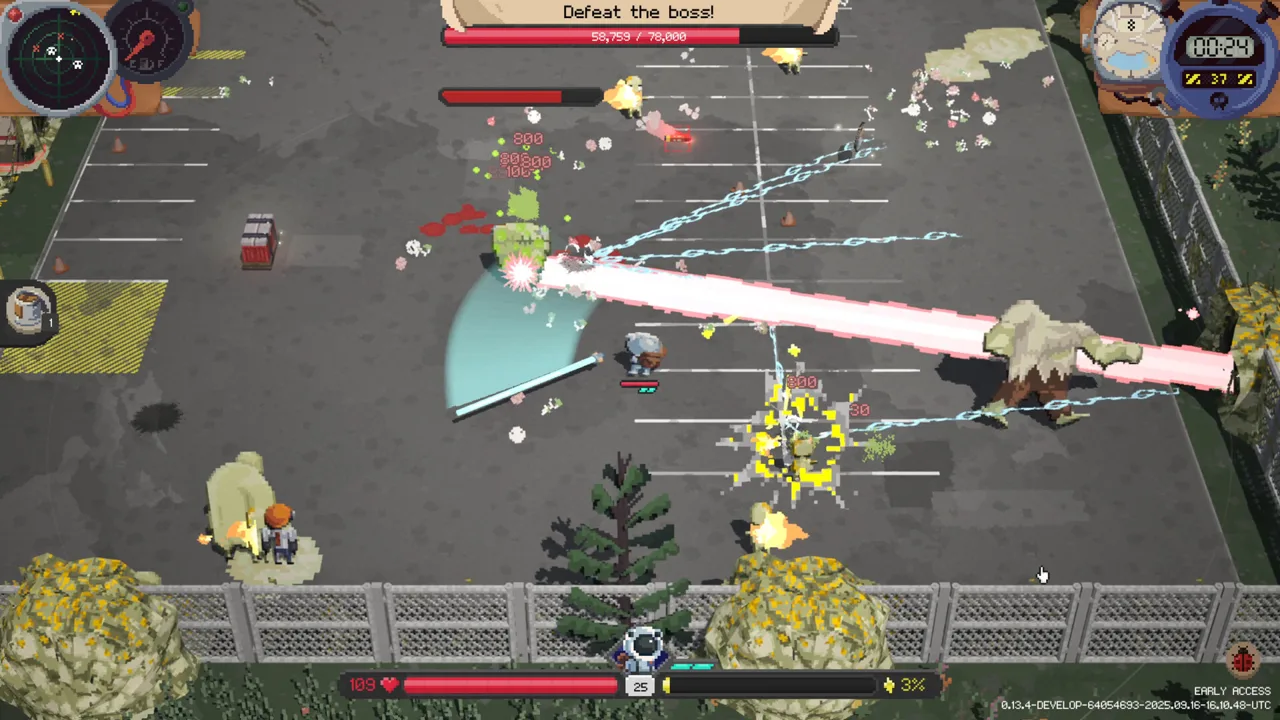 Image: Steam / Pixelsplit
Choose your survivor before buying character-specific upgrades. Read the signature item’s modifiers and spend toward the abilities you want to build around. For example, Bushy uses Trap Seeds to root enemies and gains bonus critical chance against rooted targets. Favor upgrades that support that interaction when playing Bushy.
The incremental upgrade system unlocks in rows. Inspect the next row’s requirements before spreading purchases across the menu. The Apple Press also uses prices that follow a rounded Fibonacci series rather than doubling with each purchase.
Version 1.0 adds several details worth remembering when spending or collecting resources:
- Some achievements award apples or duct tape at base.
- Character stickers from the same source combine when an item is upgraded, up to that sticker’s maximum rank.
- Item packs have names, unlock requirements, and adjusted costs.
Check pack requirements before committing resources, and compare sticker ranks when upgrading an item that already carries character modifiers.
Use Banishing to Narrow Your Loot Pool
Banishing unlocks at the workbench and removes selected items from airdrops, shops, and loot zombie drops. It gives you control over which equipment remains available during a run.
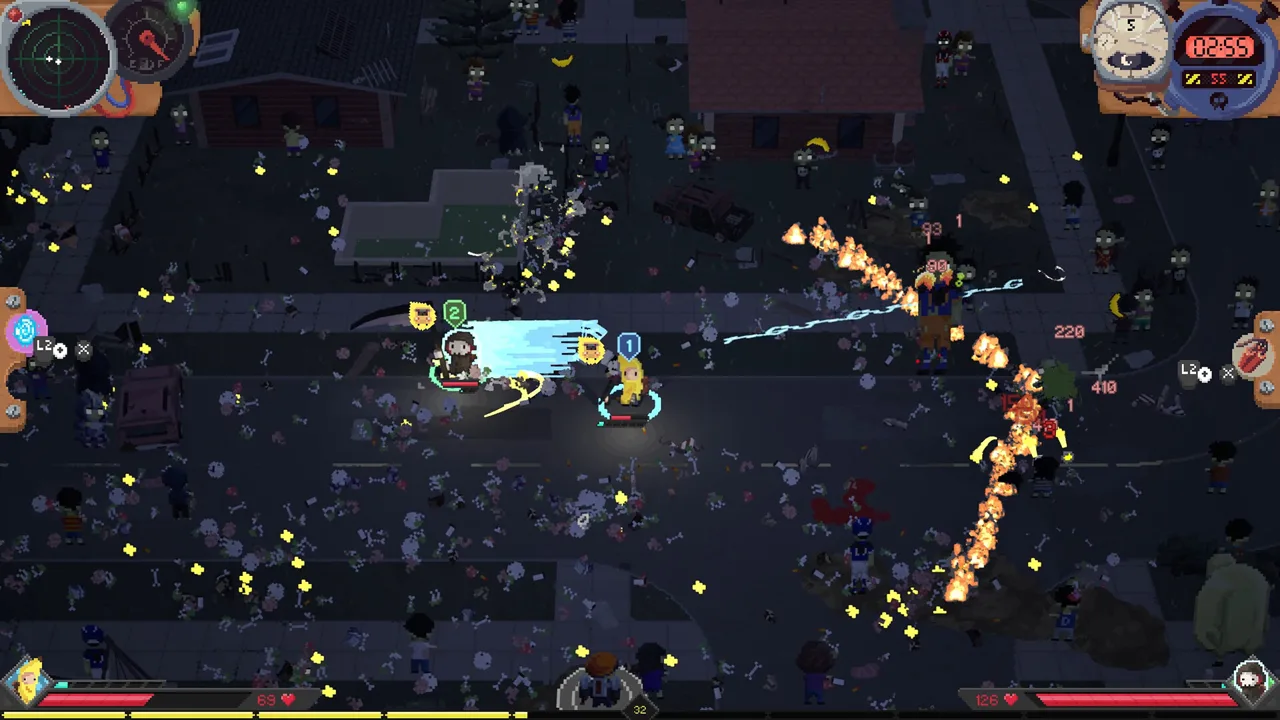 Image: Steam / Pixelsplit
In version 1.0, banish capacity is 3, then 6, then 12 items across its tiers. Older advice describing a maximum of 10 belongs to an earlier version.
Banish equipment that conflicts with the build you want to assemble. Review crafting ingredients before removing an item from those loot sources; a piece you rarely equip might still belong to a recipe you want.
Use the workbench’s recipe list to make that decision. It sorts recipes by what you can currently craft and displays ingredient quantities and rarities. That makes it easier to distinguish an unwanted drop from a useful component.
Upgrade Item Rarity With Merging and the Hammer
Matching items can merge into stronger versions, while crafting creates different equipment. Keep those actions separate when planning your inventory: improving an existing item and consuming ingredients for a new weapon serve different goals.
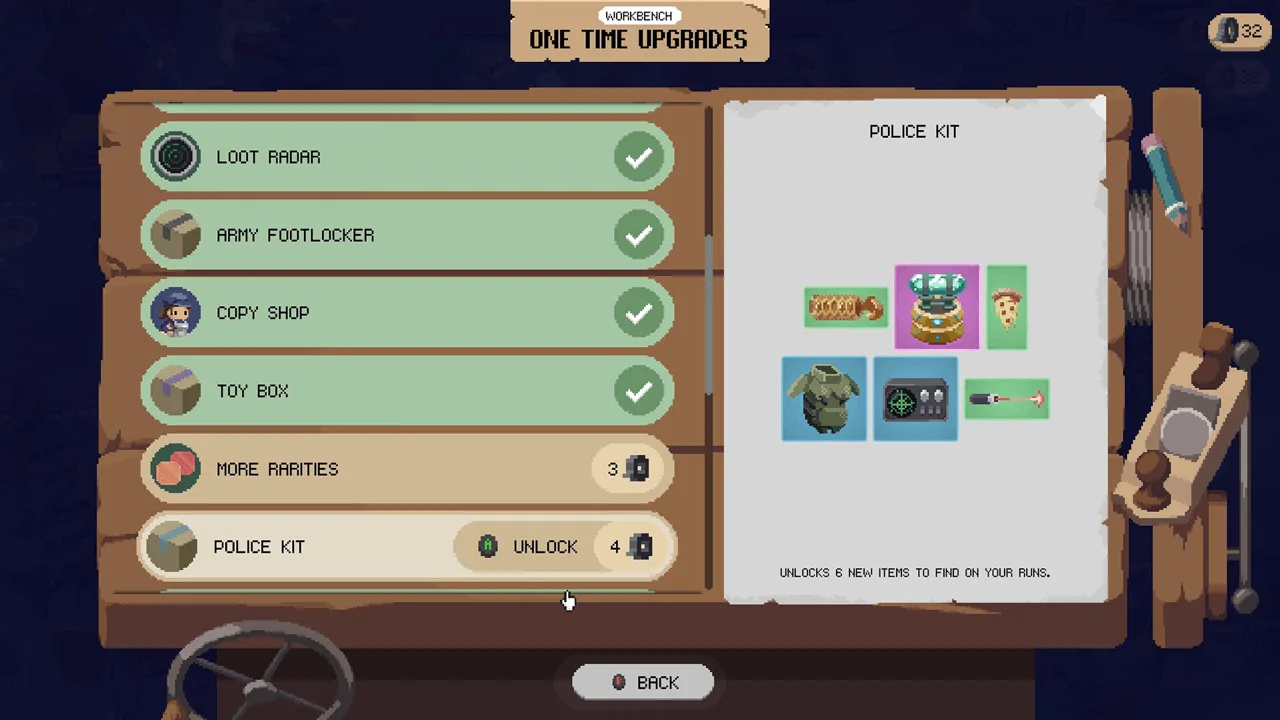 Image: Steam / Pixelsplit
The Hammer adds another route to higher rarity. At the end of the day, it raises every marked item by one rarity, capped at the Hammer’s own rarity.
For a hypothetical example, a Rare Hammer can raise a marked Uncommon item to Rare. It cannot push that item beyond Rare.
Before finishing the day:
- Check the Hammer’s rarity.
- Inspect which items its selector marks.
- Reposition eligible equipment into those marked spaces.
- Check whether the rearrangement disrupts other effects you need.
Keep the rarity ceiling in mind when choosing what to mark. An item already at the Hammer’s rarity cannot receive another rarity increase from it.
The Lottery Ticket can also affect crafting: it has a chance to prevent a craft from consuming an ingredient. Its other effects include chances for a free reroll or repair, plus a revival that destroys the ticket.
Build Around Selectors and Compatible Effects
Backpack space determines how much equipment you can carry, but placement determines which effects reach it. Read each item’s marked spaces and activation conditions before accepting a rearrangement.
Version 1.0’s Auto Equip places an item in the best available open spot, including consideration for synergies. After a major merge or crafting change, inspect the surrounding selectors again.
Several items make those placement rules especially important:
| Item | Effect | Placement or activation condition |
|---|---|---|
| Hand Mirror | Copies effects hitting a marked item onto the marked item opposite it | Both marked positions matter |
| Cogwheel | Links activations between marked triggerable items | Each item triggers only once per chain |
| Rubber Band | Extends throwable range and reduces trigger intervals | Applies to marked throwables |
| Tesla Coil | Fires every 3 seconds and can electrocute | Additional bounces for marked lightning items require an even number of marked electric items |
| Secret Sauce | Reduces daily fuel requirements, speeds bus departure, and adds poison damage to marked weapons/items | Deactivates marked food items |
Keep food out of Secret Sauce’s marked spaces when you need its effects. Coffee, Special Banana, Fresh Pumpkin, and The Carver’s Grin count as Food in version 1.0.
Match New Weapons to Their Mechanics
Five of the 10 weapons introduced in version 1.0 are craft-only: Flamethrower, Desert Eagle, Mega Shotgun, Crossbow, and The Grinder.
Use their mechanics to guide your supporting items. The Crossbow leaves bolts embedded in enemies that repeat on-hit effects when triggered. The Flamethrower leaves damaging fires that can apply Burn. The Desert Eagle pierces one extra enemy.
Critical chance can also scale beyond 100%. In version 1.0, each additional full 100% adds the critical-damage bonus again, and the remaining chance can roll another tier. Luck affects that remaining roll.
Ripped-Out Eye gives marked weapons +100% crit chance and -75% range. Account for that range penalty before building around the critical bonus.
Coordinate Both Backpacks in Co-op
Selectors can mark equipment in the other player’s backpack. Each backpack also has an extra unlockable column, and the grids can touch.
Inspect both inventories when arranging support items. Cross-backpack synergies let placement decisions affect your teammate’s equipment as well as your own.
Prepare at Base Before Chasing More Loot
The coffee stand offers a preparation option for difficult runs. Coffee increases movement and looting speed, and the days are a little longer.
Bring coffee when movement and scavenging are your immediate problems. Then check your loadout for effects that could deactivate it, especially Secret Sauce’s food interaction.
Other equipment can support that same objective:
- Crowbar: Increases looting speed.
- Electrolyte Drink: Improves stamina recovery.
- Teleporter: Moves you to an unlooted loot spot and knocks enemies back there. At night, once all fuel is collected, it sends you to the bus instead.
- Ghost Sheet: Extends invincibility after taking a hit and hides you from zombies while you are actively looting.
Collect the fuel needed for departure before extending a stop for additional loot. Judge the extra scavenging against your ability to reach the bus safely, especially when enemies are already restricting your movement.
Understand Response-Level Rewards Before Increasing Risk
MKing Response Level affects both rewards and difficulty. Version 1.0 uses these progression values:
| Response level | Reward or difficulty change |
|---|---|
| Each level | Round-end apple bonus increases by +5% per response level |
| Level 3 | Bosses drop +1 duct tape; starting threat is +1 |
| Level 4 | Starting threat is +2 |
| Level 5 | Bosses drop +2 duct tape; starting threat is +3 |
The HQ end boss has a base drop of 3 duct tape, and the Reaper drops 1 duct tape. Mission tooltips display duct tape rewards, so inspect them when choosing your route.
Weigh the reward increase against the higher starting threat. The additional resources come alongside tougher conditions, rather than being a free boost to progression. Losing or abandoning a run before its first boss victory lowers MKing Response Level by 1.
Use Run History between attempts to inspect backpack contents, enemies killed, items looted, level-ups, and days reached. Compare the builds that carried you farther, then target the next purchase at the problem that ended your run.
Continue with
 Deadly Days: Roadtrip Endless Mode: Builds and TipsExplore Deadly Days: Roadtrip endless mode, learn how to continue a winning run, and build around backpack synergies, critical hits, and survival tools.
Continue exploring

Deadly Days: Roadtrip Astronaut Unlock: Shuttle Guide
Deadly Days: Roadtrip astronaut unlock explained: find the canyon shuttle map, clear the shuttle event before Endless Mode, and see how armor boosts crits.

Deadly Days: Roadtrip Character Unlock Guide for 1.0
Deadly Days: Roadtrip character unlock tips for version 1.0: find survivors, track down the Shady Merchant, and prepare for the Vampire's melee bat build.
Join the community
Official channels for news, updates and player help: