Deadly Days: Roadtrip Demo Guide: Downloads and Saves
Try the Deadly Days: Roadtrip demo with tips for fuel, backpack builds, and save transfers. Find the Steam download and prepare for your next zombie run.
Jump to
Where to Find the Demo
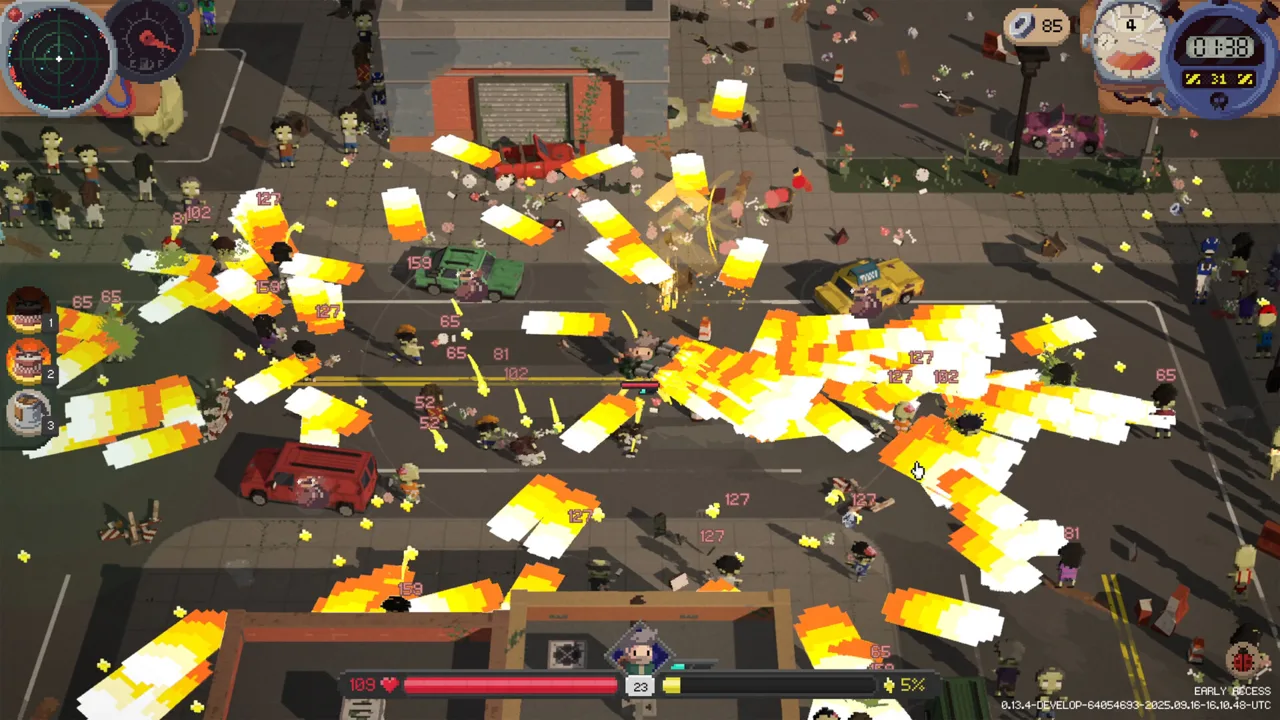
The Deadly Days: Roadtrip demo puts two survival problems in your lap: escaping a zombie horde and fitting your next upgrade into a crowded backpack. Learning how fuel, extraction, and equipment placement work will help you get further than simply chasing kills. Start at the Deadly Days: Roadtrip Steam page and look for the demo download option.
The demo has a separate Steam app ID, 3102400, while the full game uses 3026450. That distinction matters when locating save files, especially on Steam Deck and other systems running through Proton.
Developed by Pixelsplit and published by Sidekick Publishing, the game combines automatic attacks, scavenging, and backpack management. Each stop sends you out from your bus to gather fuel and equipment before deciding whether another piece of loot is worth the danger.
Collect Fuel Before the Horde Traps You
Your immediate objective at a regular stop is to collect enough fuel to get the bus moving again. Killing zombies alone will not get you out of the map.
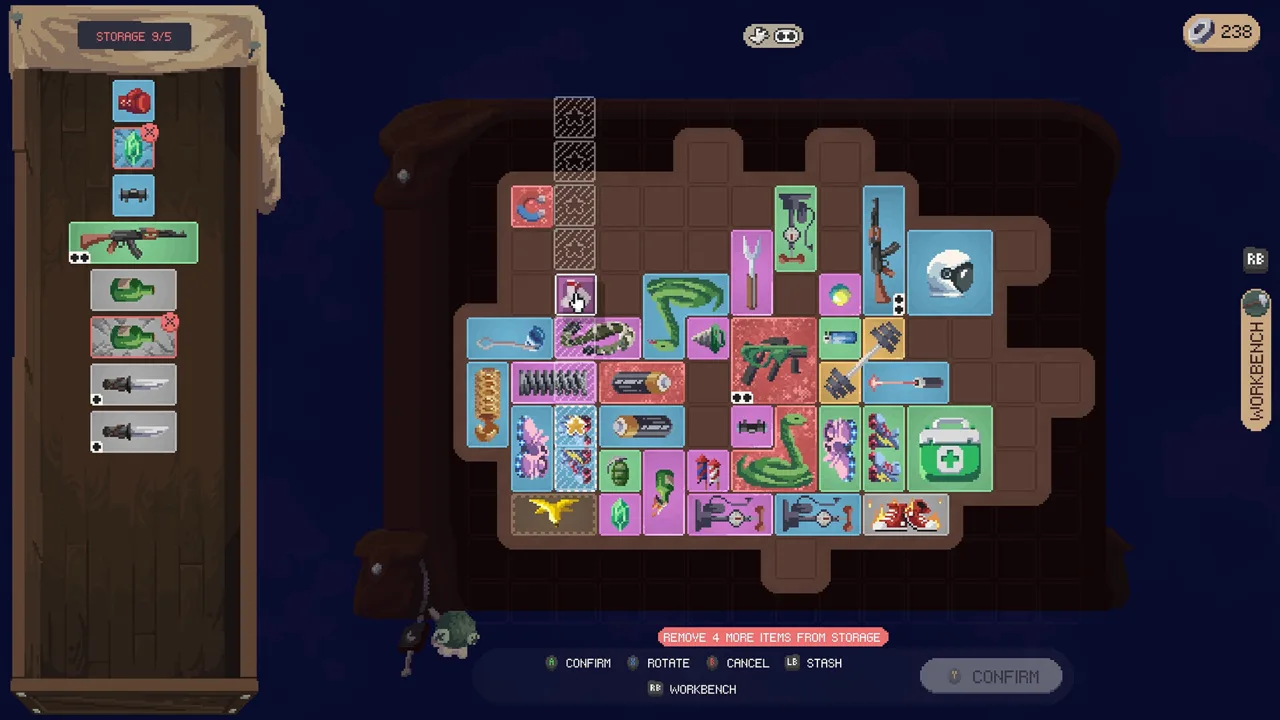 Image: Steam / Pixelsplit
Move between loot locations, watch the fuel meter, and use the radar to guide your exploration. Once the bus is ready, you can return and extract or stay longer to collect more equipment and experience.
For your opening attempts:
- Prioritize fuel while exploring. Avoid spending the entire stop fighting around the bus.
- Collect nearby experience along the way. Rushing through every map can leave your equipment struggling against later enemies.
- Keep track of your return route. Crowded streets and narrow passages become harder to navigate as enemies accumulate.
- Keep a dash available for an escape. Spending every charge on travel leaves fewer options when a charger or crowd blocks your path.
- Read the objective when entering a new stop. Roadblock missions require clearing the highway rather than repeating the usual scavenging routine.
Automatic attacks let you concentrate on movement, but they do not remove the need to manage positioning. Circle away from approaching crowds and avoid looting yourself into a corner.
Check your usable items, too. Healing supplies and temporary loot-attraction effects serve different purposes. Use healing deliberately instead of waiting for it to activate automatically.
Build Around Backpack Effects, Not Rarity Alone
Backpack space determines which weapons and support items you can combine. Placement also controls which equipment receives a bonus: an item can fit perfectly while marking the wrong weapon.
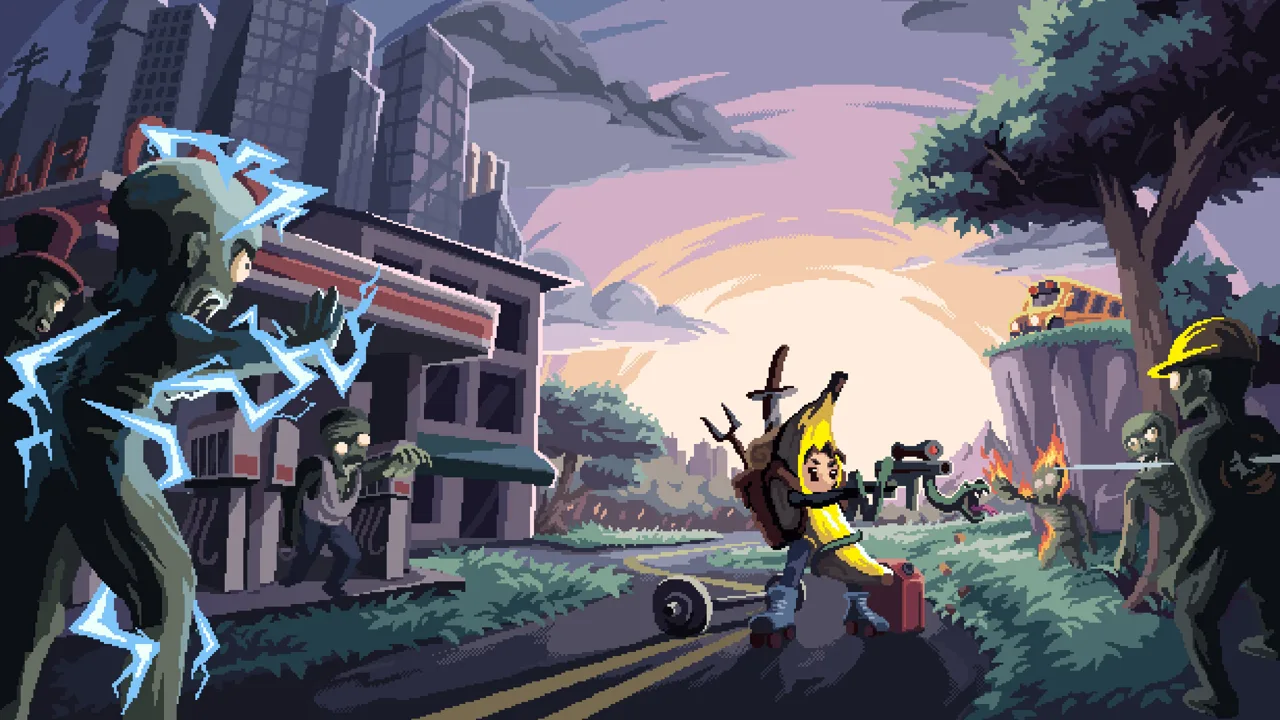 Image: PlayStation Store
Read the effect and inspect its marked spaces before accepting an upgrade. A modifier for melee weapons will not improve your pistol simply because it has a higher rarity.
Three habits make inventory decisions easier:
- Choose a weapon setup before collecting support pieces. Match ranged bonuses to ranged weapons and melee effects to melee weapons.
- Expand toward a useful shape. Place additional backpack slots where they will accommodate equipment or connect an existing modifier to another weapon.
- Rearrange after each meaningful pickup. A new item can make an older layout less effective even when everything still fits.
For example, Extra Magazine increases the fire rate of marked ranged weapons by 20%. Its position matters as much as its presence. Place the weapons you want to improve inside its marked spaces.
Repair and Merge Equipment Between Stops
Broken items cannot be equipped. Repair them with scrap before trying to use them or merge them into an equipped copy.
Matching items of the same rarity can combine into an upgrade. A lower-rarity duplicate does not skip directly into a higher-rarity item.
Before selling equipment to fund a repair, check the replacement’s requirements. Available backpack space is only part of the decision; weapon-equipping limits matter, too.
Spend scrap with your current build in mind. Repair a support item that improves an equipped weapon before funding several disconnected pieces you cannot use together.
Demo Save Transfers and Backup Locations
Demo progress has transferred automatically for some players, while other older saves loaded incomplete progress or missed character unlocks. Before moving files, back up both versions’ saves and compare the characters, upgrades, and currencies already present in the full game.
 Image: Steam / Pixelsplit
For September 2025 demo saves, the relevant locations are:
| Platform or version | Save location |
|---|---|
| Windows | C:\Users\useraccount\AppData\Local\DDSurvivors\Saved\SaveGames |
| Demo through Proton | steamapps/compatdata/3102400/pfx/drive_c/users/steamuser/AppData/Local/DDSurvivors/ |
| Full game through Proton | steamapps/compatdata/3026450/pfx/drive_c/users/steamuser/AppData/Local/DDSurvivors/ |
Replace useraccount with your Windows account name. The Proton paths sit inside the Steam library containing the relevant compatibility folders.
Importing an Older Proton Save
The September 2025 manual import method uses the demo’s entire Saved folder:
- Close both versions of the game.
- Make separate backup copies of both versions’
Savedfolders. - Copy the demo’s
Savedfolder from the3102400compatibility directory. - Paste that copy into the full game’s
DDSurvivorsdirectory under3026450, replacing destination files only after preserving the backup. - For the older filename conversion, rename the copied
Saved/SaveGames/SaveSlot_0.savtoSaveSlot_DDR_0.sav. - Launch the full game and inspect your progress before making further changes.
Keep the original demo files untouched while working with copies. Older transfer attempts included lost progress, so retain both backups until you have inspected the result.
Use the compatdata directories for this process. The similarly named DDSurvivors folder inside the game’s installation directory is a different location.
What Version 1.0 Adds Beyond the Older Demo
The full game reached Version 1.0 on October 29, 2026, bringing its combined weapon and item count to over 110. That update added 10 weapons, including five available only through crafting, and 16 items.
Those additions expand the backpack combinations available in the full release. The Hammer upgrades marked items overnight, limited by its own rarity. The Cogwheel connects marked triggerable items into chains. The craftable Plasma Hand supplies extra hands for equipping weapons.
Version 1.0 also includes the Vampire, whose bats deal melee damage and have a chance to steal life, plus a revamped base with a coffee stand. Coffee increases movement and looting speed and makes days longer.
Co-op supports shared-screen play and Steam Remote Play Together, allowing a friend to join without buying another copy. Version 1.0 adds cross-backpack synergies, so selectors can mark equipment in the other player’s bag.
Existing Early Access saves work with Version 1.0. Keep that compatibility separate from the older demo-transfer process when deciding whether to move files manually.
Windows Requirements Before You Install
The full game’s minimum PC requirements are:
- Operating system: Windows 10 or higher, with a 64-bit processor and operating system
- Processor: Intel Core i5-6600K or AMD Ryzen 5 3600
- Memory: 8 GB RAM
- Graphics: A dedicated graphics card, such as NVIDIA GeForce GTX 1050 Ti or AMD RX 570
- Storage: 2 GB available space
Windows is the supported PC platform. The Steam Deck save paths above apply to running the Windows version through Proton.
Continue with
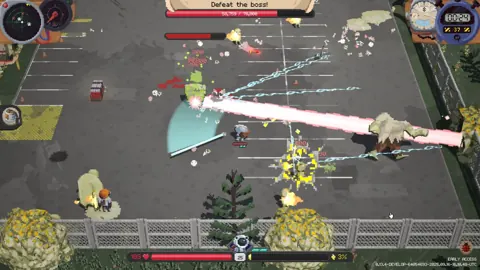 Deadly Days: Roadtrip Lag: Fix Stutters and SlowdownsTroubleshoot Deadly Days: Roadtrip lag with controller tests, build adjustments, and the 1.0 performance changes. Find the right fix for your next run.
More in Support

Deadly Days: Roadtrip Co Op: Couch & Remote Play Guide
Deadly Days: Roadtrip co op supports couch play and Steam Remote Play Together with one copy. Learn how shared backpack synergies work and plan your runs.
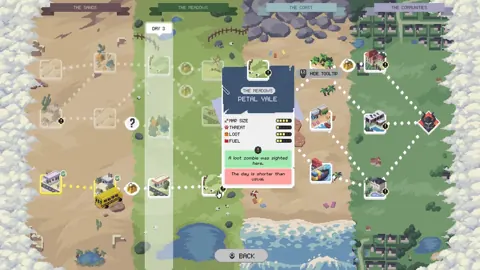
Deadly Days: Roadtrip Demo Save Transfer: Steam Deck & PC
Deadly Days: Roadtrip demo save transfer help for Windows and Steam Deck: find your files, back up progress, and follow the older manual import workaround.
Deadly Days: Roadtrip Save Location & Save Backups
Deadly Days: Roadtrip save location help for Windows players: learn how automatic backups work, what Steam Cloud offers, and how saves carry over to 1.0.
Join the community
Official channels for news, updates and player help: