Deadly Days: Roadtrip Sheriff Reload Build: Gear Guide
Deadly Days: Roadtrip sheriff reload build guide: pair revolvers with Sheriff Star, boost attack rate, shorten reloads, and make room for speed upgrades.
Jump to
How the Sheriff Reload Build Works
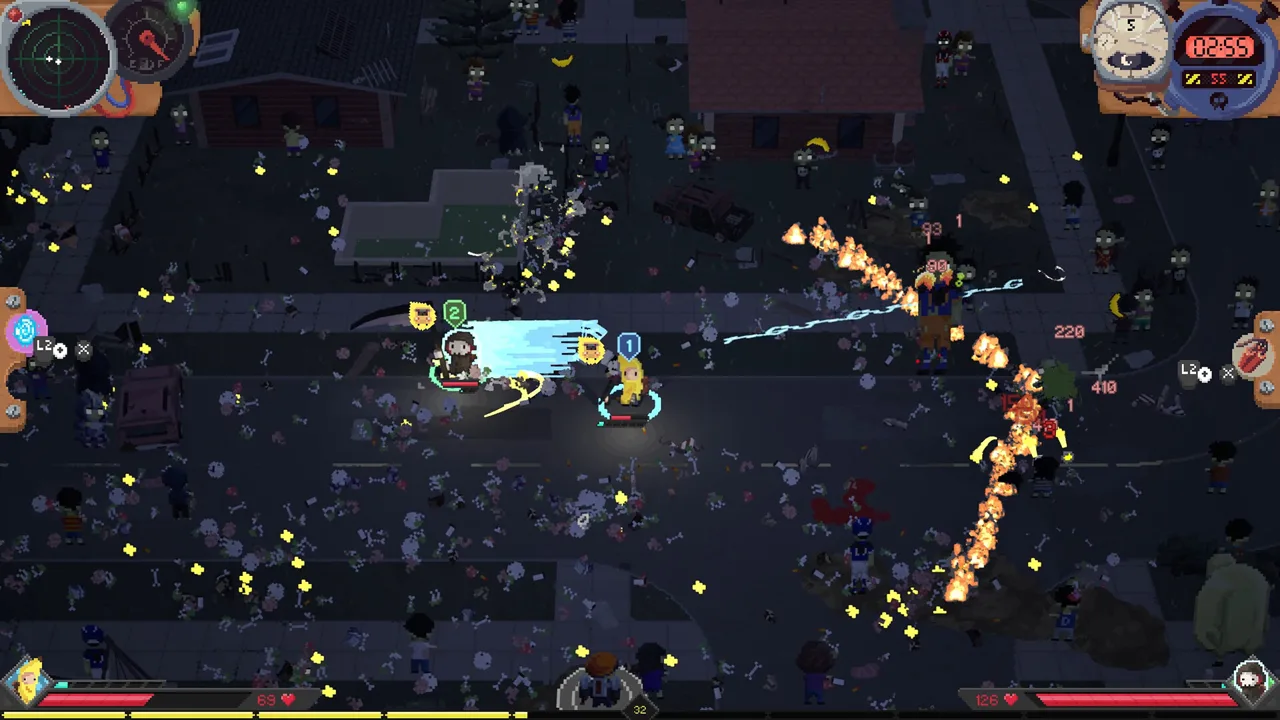
The Deadly Days: Roadtrip sheriff reload build turns an empty magazine into another burst of gunfire. Sheriff Star fires six bonus bullets when a marked ranged weapon reloads, giving you damage during a normally dangerous break in shooting. Build around frequent reloads, faster attacks, and enough movement speed to keep the horde at a distance.
Sheriff starts with Sheriff Star and a Revolver. The Star also reduces the reload duration of marked ranged weapons as your character levels up, so leveling contributes directly to the setup.
Version 1.0, released October 29, 2026, fixed Sheriff Star consuming ammunition for its reload bonus shots. Those bonus shots no longer spend ammo.
Keep both parts of the firing cycle in mind: attack rate helps you empty a magazine sooner, while reload reduction shortens the wait before ordinary shooting resumes. Stack support for both instead of expecting either stat to carry the entire build.
Official page: Deadly Days: Roadtrip (store.steampowered.com)
Core Weapons and Support Gear
Start with the Revolver and add another when your backpack and equipment capacity allow it. A compact magazine makes the weapon a straightforward foundation for triggering Sheriff Star regularly.
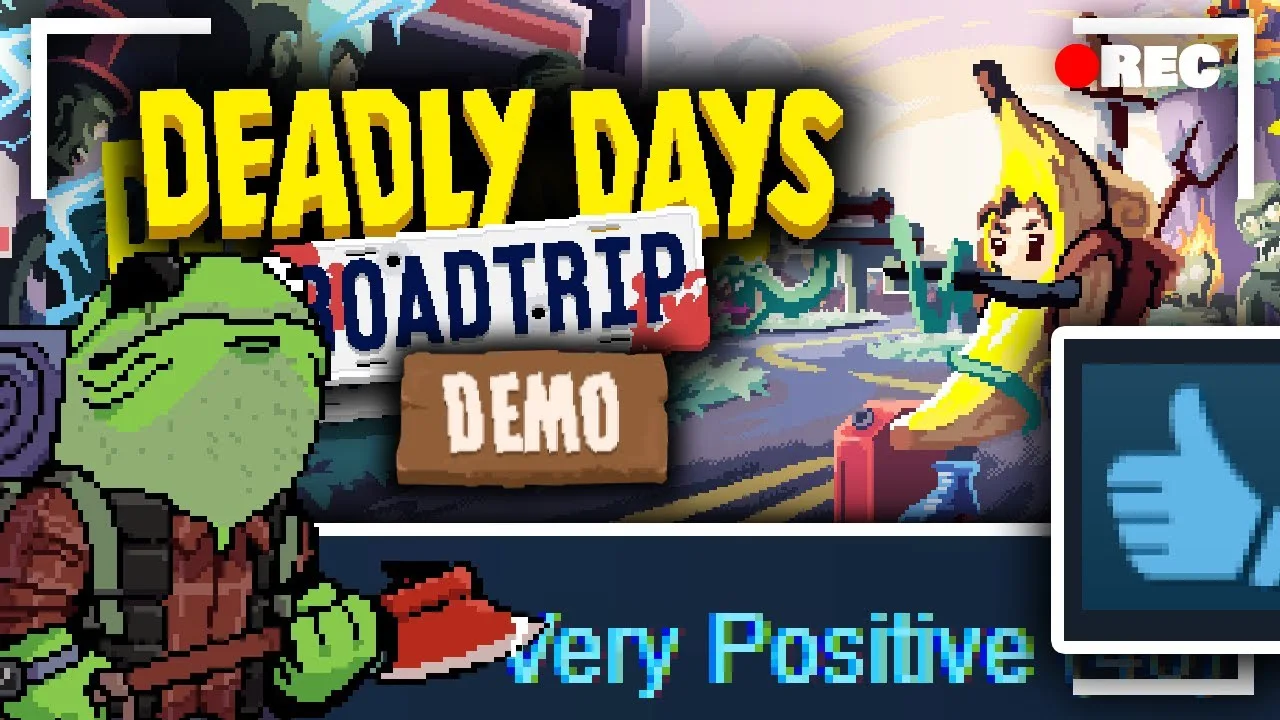
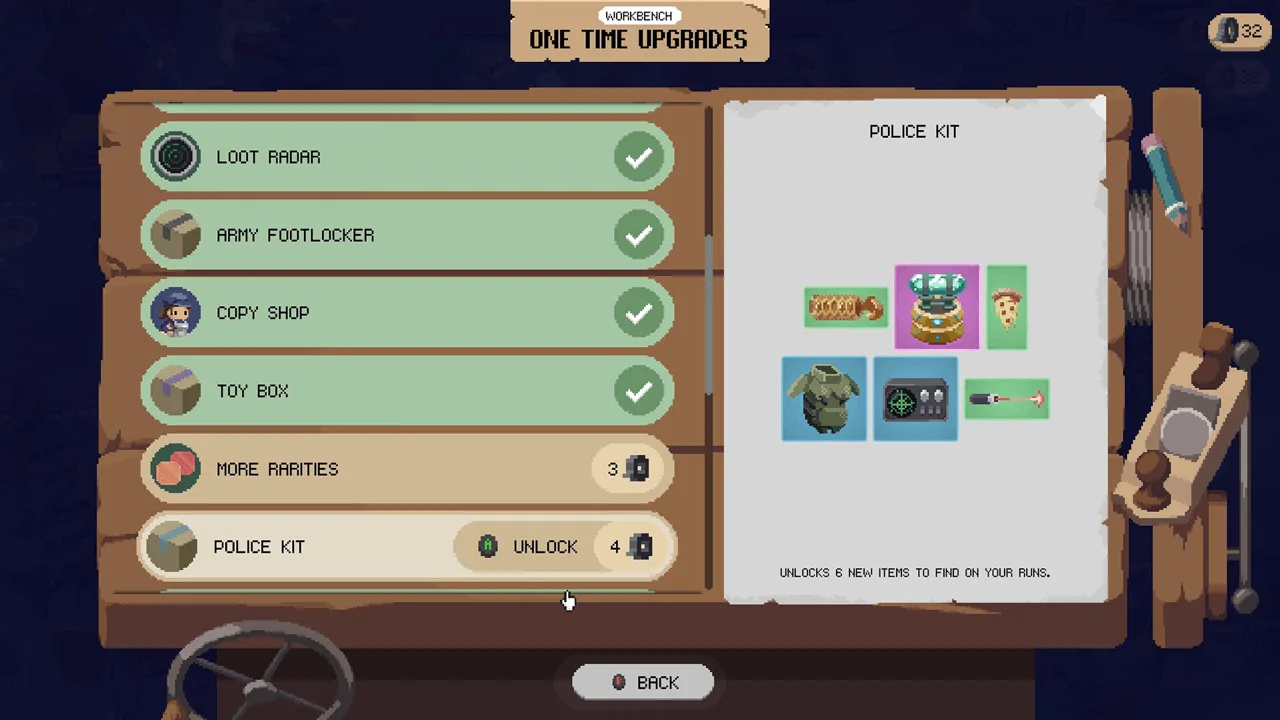 Image: Steam / Pixelsplit
Use this equipment list to organize your upgrades:
| Gear | Relevant effect | Build role |
|---|---|---|
| Sheriff Star | Fires six bonus bullets from a reloading marked ranged weapon; reduces marked weapons’ reload duration per character level | Reload payoff |
| Revolver | Sheriff’s starting ranged weapon with a six-round magazine | Starting weapon |
| Yo-Yo | Reduces marked ranged weapons’ reload duration based on tile distance | Reload support |
| Trooper Helmet | Raises marked ranged weapons’ attack rate while increasing spread | Faster magazine turnover |
| Dart | Increases attack rate | Additional firing speed |
| Fork | Adds bullets to marked ranged weapons | More projectiles |
| Rubber Ball | Adds bullet bounces to nearby enemies | Crowd coverage |
| Drill | Adds piercing | Damage through packed enemies |
Build Around Revolvers Before Switching Weapons
Merge matching Revolvers as upgrades become available. Keep your weapon upgrades connected to the Star and supporting items; a stronger gun loses part of its value if rearranging it breaks your synergies.
Avoid choosing an SMG solely because it fires quickly. Its larger magazine changes how often you reach a reload. Compare the whole firing cycle before replacing a weapon that already works with your layout.
Consider a Sawed-Off when one drops, but inspect its current tooltip and the support you can fit around it. Preserve the reload engine before committing space to a replacement.
Add Crowd Coverage Alongside Firing Speed
If large enemies die quickly but ordinary zombies keep surrounding you, prioritize bounce or piercing. Faster shooting helps, but shots still need to reach enough targets.
Use a Rubber Ball to spread bullets between nearby enemies. Add a Drill when packed enemies are blocking shots from reaching the rest of the group. Forks provide additional projectiles, giving your ranged weapons another useful upgrade path.
Arrange the Backpack Around Active Markings
Backpack space determines how much of this build actually functions. Items use their own marking patterns, so fitting everything inside the bag is only part of the job.
Rebuild your layout in this order:
- Place your weapons and Sheriff Star. Check that the Star marks every weapon you intend to use for reload bonuses.
- Fit shared attack-rate support. Position the Trooper Helmet and Darts to reach both guns where their patterns allow.
- Place the Yo-Yo deliberately. Check its marking and distance effect before filling the surrounding space.
- Add projectile modifiers. Fit Forks, bounce, and piercing around the weapons they can affect.
- Restore movement and healing. Reserve space for Socks, Roller Skates, and a Health Kit.
- Inspect every connection after merging or moving gear. Recheck the Star, reload support, and weapon modifiers before leaving.
When space prevents both guns from receiving everything, concentrate several damage modifiers on one weapon. Keep the second connected to the Star and give it the remaining useful support.
Take backpack expansions when you have valuable equipment waiting outside the active layout. Another modifier does little for your next fight if you cannot equip it.
Upgrade Without Sacrificing Survival
Movement gear belongs in the build alongside its weapons. Socks and Roller Skates help you maintain distance, reach loot, and find a route back to the bus.
Keep the Health Kit equipped when sustained damage starts wearing you down. Its recovery helps after a hit when you avoid another immediately afterward; repeated contact makes that recovery harder to use. Leave yourself open ground rather than depending on healing inside a crowd.
Use War Drum during difficult stretches instead of carrying it through the entire map unused. Its upgraded cooldown reaches 30 seconds, allowing more frequent activations than the 60-second version.
Treat optional elemental effects as additions after the core layout works. A Lighter can support weapon damage, but avoid displacing reload support, piercing, or essential movement just to squeeze in another effect.
Know When to Extract
Collect fuel and prepare the bus before the map becomes difficult to cross. Then judge any extra looting by your remaining health, nearby enemies, and the route back.
Watch for these reasons to leave:
- Enemies are surviving long enough to close off your retreat.
- Repeated hits prevent the Health Kit from helping you recover.
- Trees, obstacles, or dead ends are forcing you into crowded paths.
- Your next upgrade requires more backpack space than you currently have.
Use a Vacuum before departure while you can still handle the resulting level-up choices. Avoid saving it so long that collecting experience competes with escaping.
Keep moving through open lanes and turn back while those lanes remain accessible. A fast-firing Sheriff setup still needs room to reload, reposition, and reach the bus.
Continue with
 Deadly Days: Roadtrip Best Build Guide for Version 1.0Find your Deadly Days: Roadtrip best build with melee synergies, Vampire bats, throwable triggers, and backpack tips for stronger runs in version 1.0.
More in Builds
See all Builds
Continue exploring
Join the community
Official channels for news, updates and player help: